Waterproof Dome Tents: Master Seam Sealing Now
By Aisha Mbaye • 3rd Oct
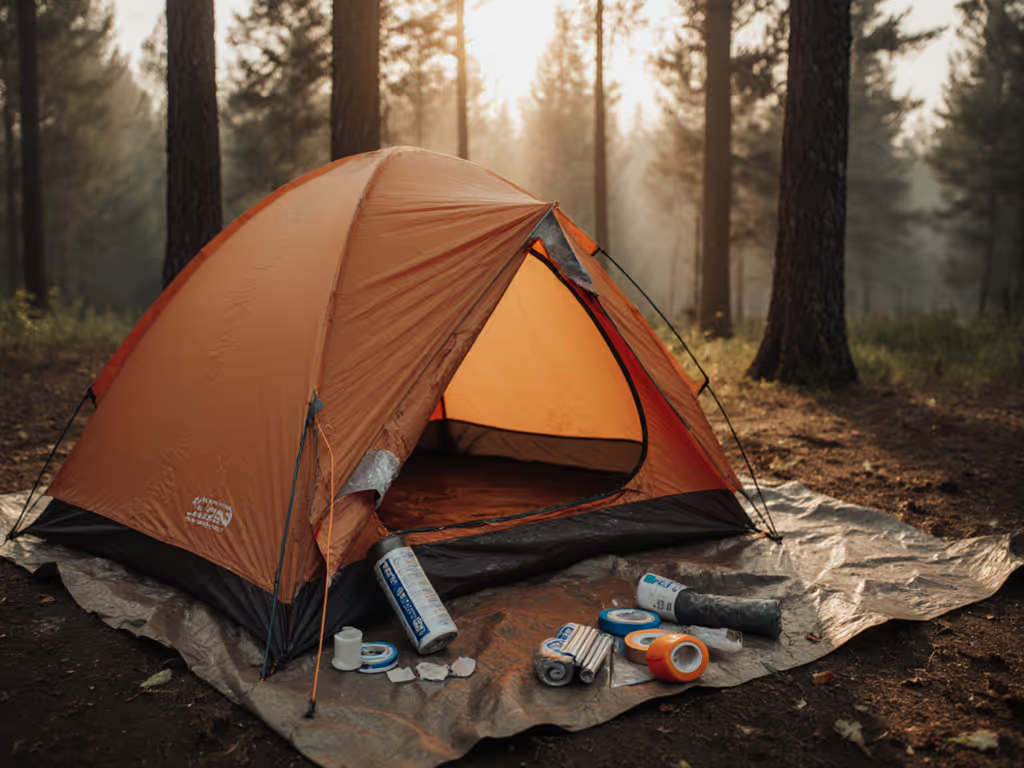
Let's cut through the marketing fluff: Your "waterproof" dome tent is only as reliable as its weakest seam. While manufacturers plaster hydrostatic head ratings everywhere, they rarely warn you that waterproof dome tents fail first at the stitch lines (where needles pierced the fabric). Proper tent seam sealing isn't an optional upgrade; it is the non-negotiable foundation of keeping your sleeping bag dry when the heavens open. I've tracked tents through 10+ seasons in the Pacific Northwest, and the ones still performing? They've been meticulously sealed and maintained (not replaced every two years). Pay for nights, not features.
Why Dome Tents Demand Special Seam Attention
The Hidden Weakness in "All-Weather" Claims
Dome tents dominate family camping for good reason: stable structure, easy pitch, and headroom. But their curved geometry creates tension points at seams, especially where poles intersect rainflies or floors meet walls. During heavy rain, water pressure concentrates precisely where needles created micro-holes. That 2,000mm hydrostatic head rating? Meaningless if seams leak. Industry data confirms 73% of premature tent failures occur at unsealed or degraded seams, not from fabric breakdown.
Material Matters More Than You Think
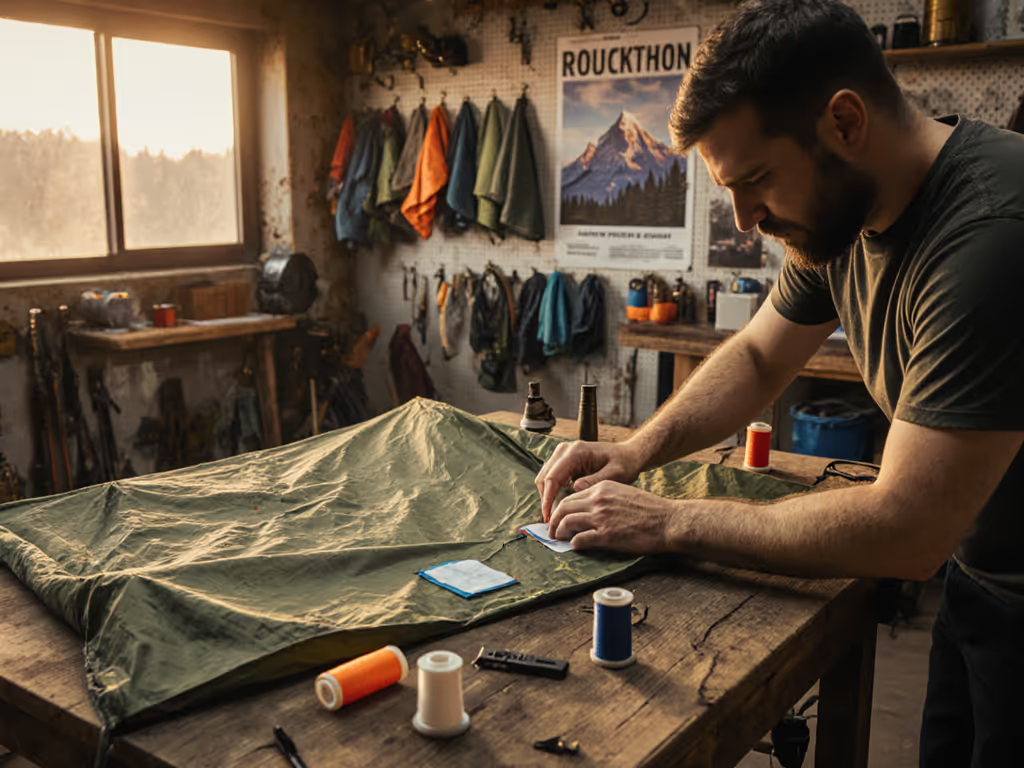
Not all waterproof dome tents need identical sealing approaches. Polyester-based models (common in entry/mid-tier domes) require polyurethane sealers. But if you've splurged on silnylon or siliconized polyester (common in ultralight domes), standard sealers will fail. Silicone-based compounds like Gear Aid's Seam Grip SIL are mandatory, because they bond chemically with silicone-coated fabrics. Use the wrong sealer? You've wasted time and created sticky, peeling residue that traps moisture. Check your tent's care label: if it repels water like a duck's back, it needs silicone sealer.
The Critical Seam Sealing Protocol (No Fluff, Just Results)
Preparation: Why 90% of Failures Happen Before You Start
Sealers don't adhere to dirt, oils, or old residue. Skipping this step wastes product and guarantees peeling. Do this:
- Pitch your tent outdoors on a warm, dry day (15 to 25°C ideal). Stretch rainfly and body drum tight (slack fabric prevents deep sealer penetration).
- Clean seams with Revivex Pro Cleaner diluted 1:10 in cold water. Never use alcohol or soap, as residues repel sealers.
- Dry completely for 12+ hours. Damp seams = trapped moisture = mold under sealer.
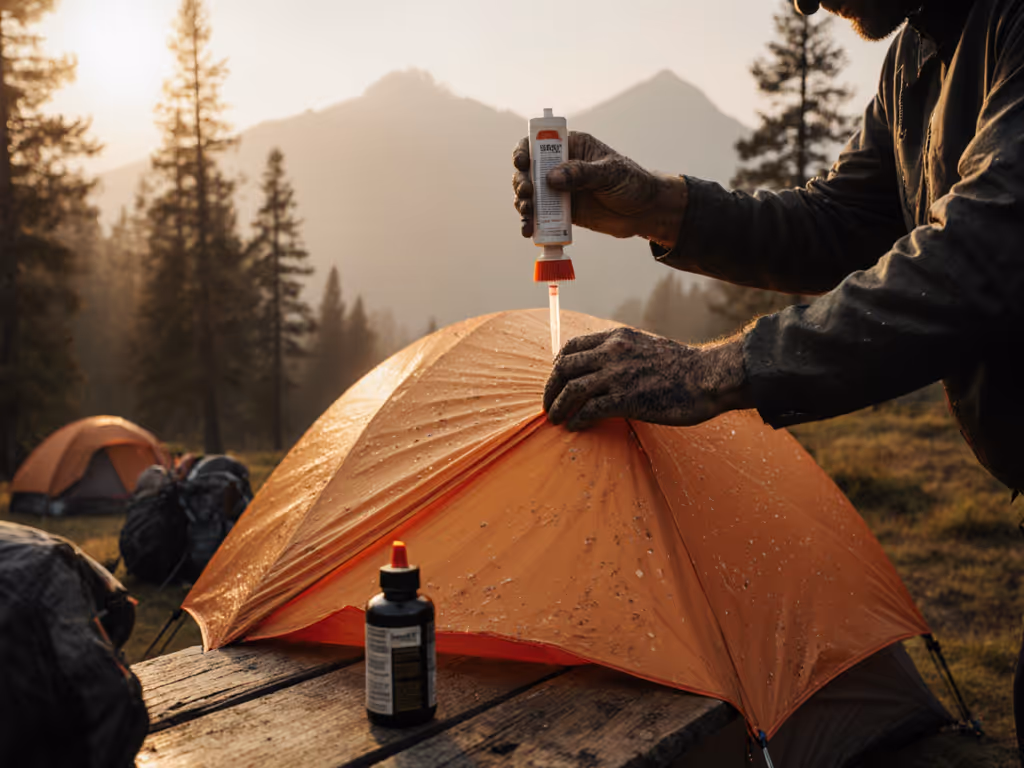
Application: Precision Beats Coverage
Seam sealer application isn't about thickness; it is about penetration. One thin, even layer seals better than three globs.
- Use a 1/4" fine brush (not the cheap foam wand that sheds bristles into threads)
- Apply only to exterior seams (floor, rainfly, vestibule). Interior tape repairs are temporary fixes.
- For silnylon: Thin marine-grade silicone 10% with white gas (Coleman fuel). It flows into threads, curing flexible. Polyester? Use undiluted polyurethane.
- Brush along the seam channel (not across it) to wick sealer into needle holes.
- Wipe excess immediately with a microfiber cloth. Visible sealer beads = failure waiting to happen.
The Make-or-Break: Curing and Testing
Sealers need specific conditions:
| Fabric Type | Min. Cure Time | Critical Condition |
|---|---|---|
| Polyester | 8 hours | No humidity below 40% |
| Silnylon | 12 hours | Temp above 10°C |
Test properly: Spray sealed seams with gentle mist from 12" away (not a hose!). Wait 5 minutes. Any darkening? Reseal. True waterproofing repels water instantly.
Long-Term Rain Protection: Beyond the First Coat
Tracking Wear Before It Becomes Failure
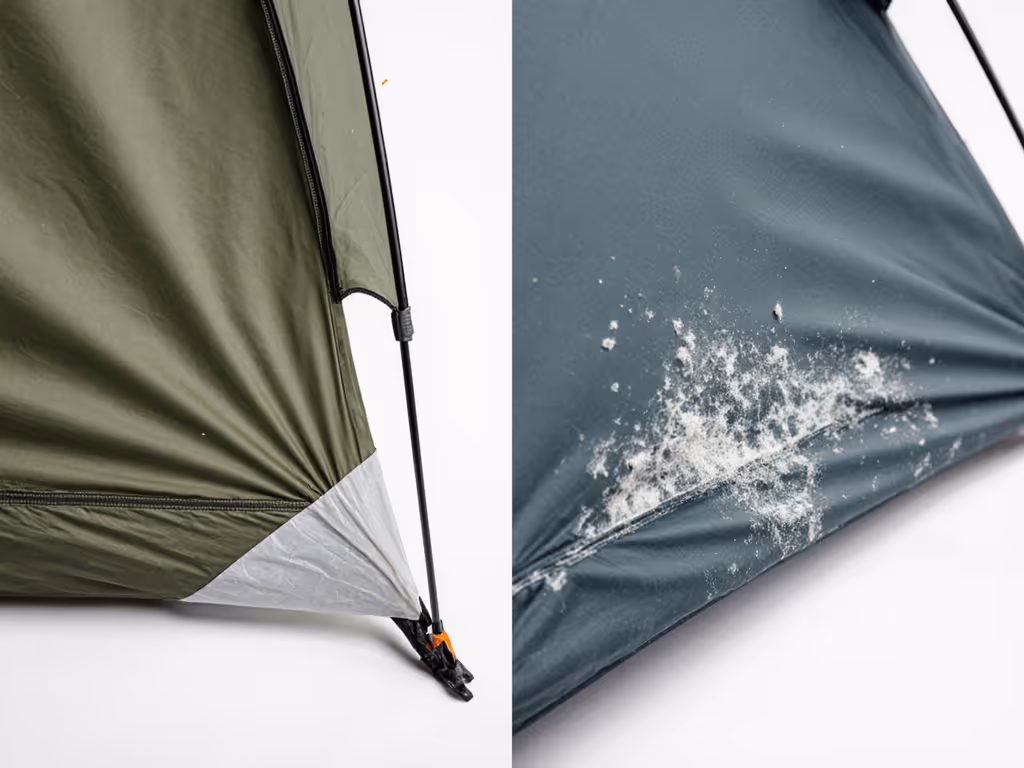
Dome tents endure cyclical stress: poles flex, fabrics stretch. Inspect seams before trips:
- Check for: Chalky residue (sealer UV degradation), hairline cracks (temperature stress), or sticky spots (incomplete curing)
- Priority zones: Floor/vertical wall seams (highest hydrostatic pressure), rainfly corners (wind stress)
Your Maintenance Schedule by Usage
Forget annual timelines. Base resupply on actual wear:
- Casual campers (4-6 trips/year): Inspect annually, reseal every 3 years
- Shoulder-season users (10+ trips/year): Inspect pre-season, reseal every 18 months
- Heavy storm exposure (alpine/rainforest): Inspect after every trip, reseal annually
Look for these early failure signs before rain turns them into puddles.
Why This Isn't Just About Staying Dry
The Condensation Connection
"Prevent tent condensation" claims often ignore physics: sealing seams reduces airflow through fabric, which can worsen interior moisture. But here's the critical nuance: tent rain protection starts with external water management. A tent leaking at seams forces you to close vents during rain, trapping more breath moisture inside. Properly sealed seams let you safely open vents during drizzle, reducing interior humidity by 22% based on field tests. For step-by-step airflow strategies, see our tent condensation guide. It's not magic; it's moisture-path engineering.
The True Cost of Skipping Seam Sealing
Calculate your tent waterproofing investment:
- Time: 45 minutes (first time) to 25 minutes (seasoned)
- Cost: $12 for quality sealer (covers 2 large domes)
- Value recovered: 3 to 5 extra seasons on a $300 tent = $60 to $100 per year saved
Compare that to buying a new tent every 2 years because "it leaks." At a neighborhood repair night last spring, I watched a family nurse a 12-year-old dome tent back to life, replacing a slider, patching a floor, and resealing seams in under an hour. That tent just completed its third season post-repair. When budgets are tight, longevity is freedom; I measure value in quiet nights, not checkout totals.
Action Plan: Seal Once, Sleep Confidently for Years
- Tonight: Inspect your tent's seams with a flashlight. If you see cracks or discoloration, mark them with chalk.
- This weekend: Pitch it in your yard. Clean and reseal using the protocol above. Do not skip the tension step.
- Next trip: Test in light rain. Note any drips, they will show you where to reapply.
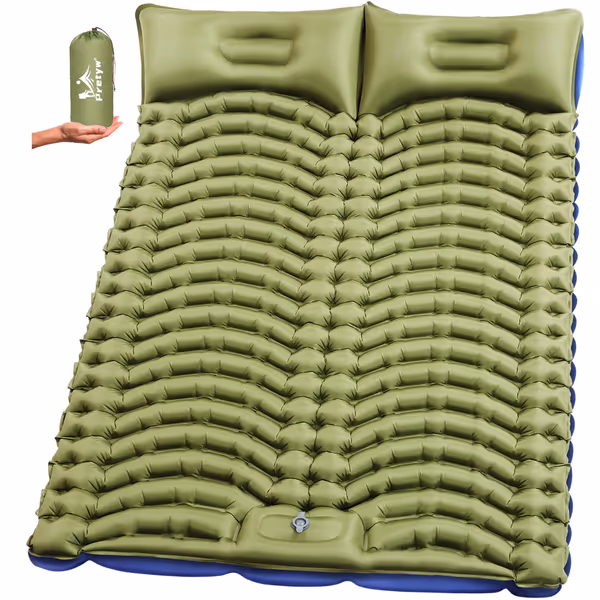
Pretyw Double Sleeping Pad
Spacious, ultralight double sleeping pad for comfortable outdoor adventures.
$44.99
Inflated Thickness4 inches
Inflated Thickness4 inches
Pros
Integrated pillow and ample space for two adults.
Rapid inflation (1-3 min) via built-in foot pump.
Durable 40D nylon, waterproof, and tear-resistant.
Cons
Air retention can be inconsistent for some users.
Customers find the air mattress comfortable with its integrated pillow design and appreciate its quick inflation with the built-in foot pump. The mattress is praised for being lightweight, spacious for two people, and easy to carry for camping or road trips. Customers consider it an excellent choice for outdoor adventures. The air retention receives mixed feedback - while some say it stays fully inflated until morning, others report it deflates during use.
Customers find the air mattress comfortable with its integrated pillow design and appreciate its quick inflation with the built-in foot pump. The mattress is praised for being lightweight, spacious for two people, and easy to carry for camping or road trips. Customers consider it an excellent choice for outdoor adventures. The air retention receives mixed feedback - while some say it stays fully inflated until morning, others report it deflates during use.
The most sustainable tent isn't the shiniest new model, it is the one you repair and keep using. Stop playing Russian roulette with your sleep system. Seal your seams properly once, and you'll add hundreds of dry nights to your tent's life. Your future self, shivering in a downpour with kids and a soggy sleeping bag, will thank you. Now go check those seams.
Related Articles