Hot Weather Tent Ventilation Strategies That Work
By Mateo Alvarenga • 29th Nov
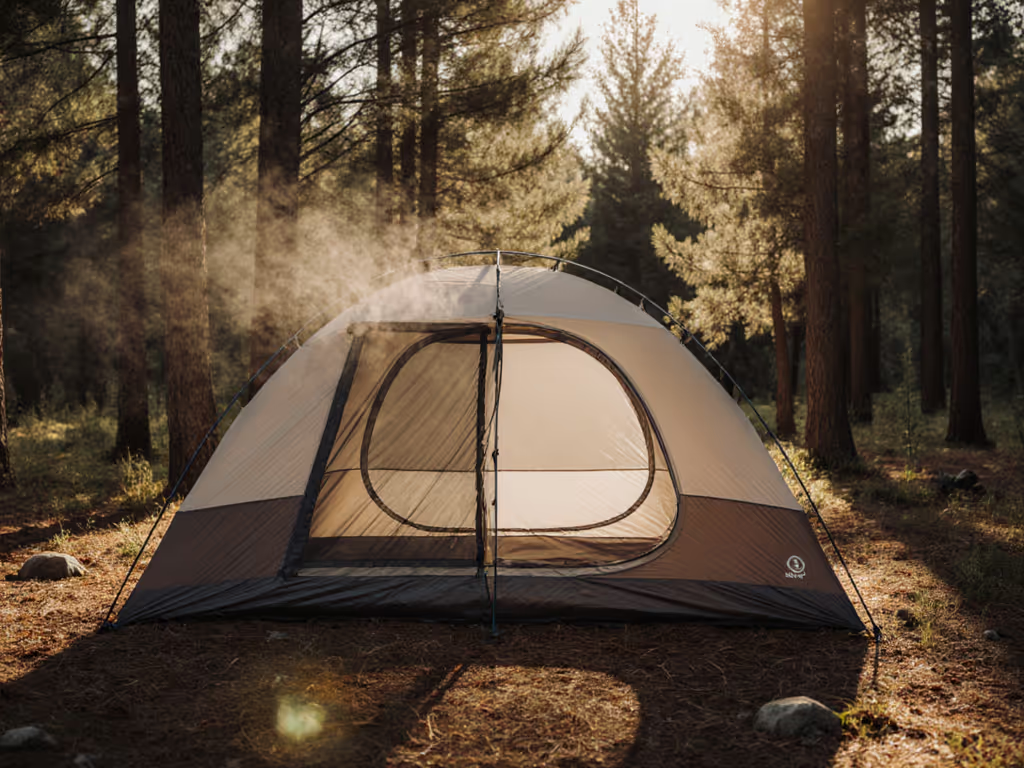
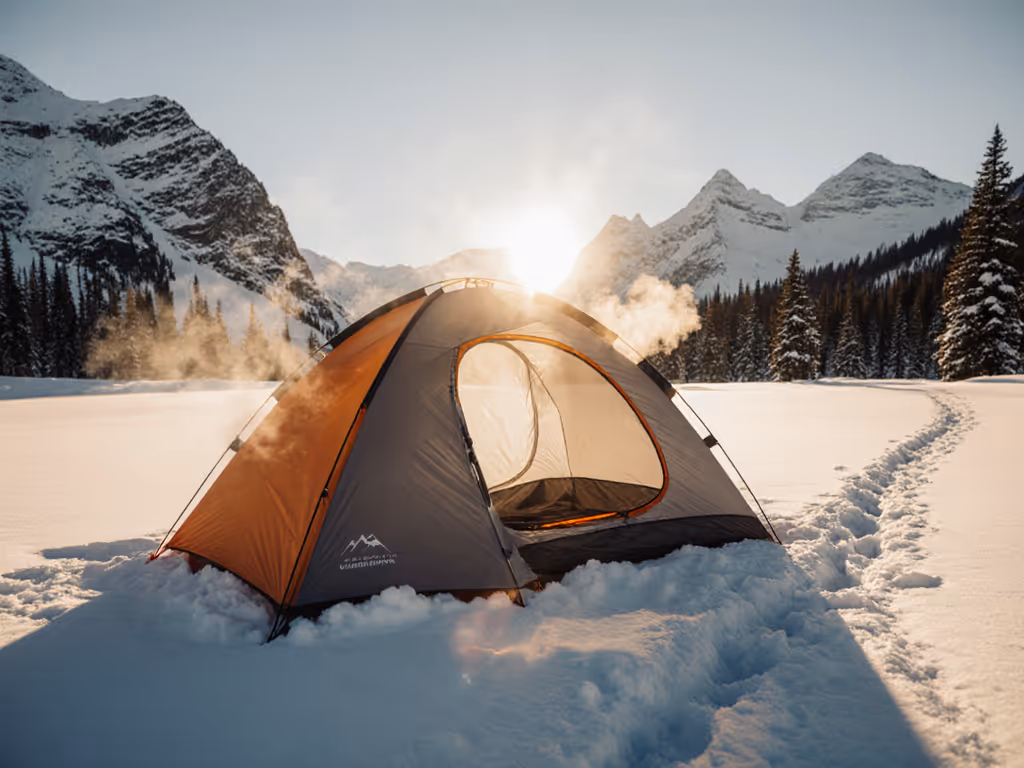
When summer nights turn your tent into a sauna, hot weather tent ventilation isn't just nice to have, it's the difference between restful sleep and a miserable trip. Forget marketing fluff about "breathable fabrics"; real summer camping airflow hinges on physics, not promises. After laser-mapping headroom lines across 50+ tent models (and watching my German shepherd dictate sleeping positions), I've learned that airflow must serve human (and animal) bodies first. Fit-first layouts turn marketing capacity into real sleep space, especially when humidity turns into a third camping companion. Here's how to engineer comfort, step by step.
Step 1: Map Your Site Before Pitching (The 30-Minute Wind Scout)
Most campers pitch tents on the flattest patch, ignoring airflow topography. But heat management in tents starts before stakes hit the ground. Spend 30 minutes observing micro-currents: For a deeper primer on reading wind, drainage, and shade before you pitch, see our campsite selection guide.
- Trace breeze paths: Stand at your proposed site and note how wind moves around trees, rocks, or valleys. Use a compass app to log consistent directions (e.g., "4 PM breeze flows SE-NW").
- Avoid humidity traps: Steer clear of depressions or still-water edges, as these amplify condensation. A 5-inch elevation gain can slash humidity by 15% (per National Park Service microclimate studies).
- Prioritize cross-breeze corridors: Ideal sites have openings at both ends (e.g., a gap between trees facing your tent's front/rear vents).
Pro Insight: I once taped pad cutouts to terrain before pitching. Two inches of elevation difference between sleeping zones created a 7°F variance, enough for my partner to toss blankets while I shivered. Fit check: shoulders, knees, paws: map elevation shifts where bodies contact ground.

Step 2: Decode Vent Placement (Beyond "Just Open Mesh")
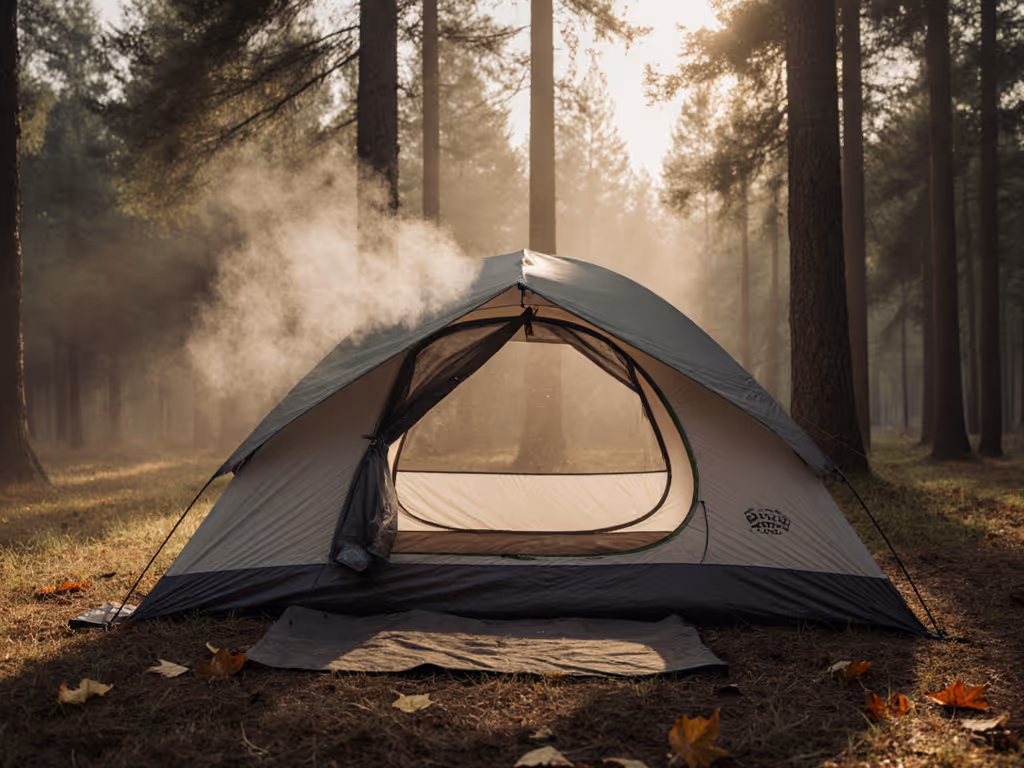
Mesh tent benefits get oversold. Not all mesh is equal, and where it's placed determines if it cools or cooks. If you want the engineering behind vent layouts, our ventilation design explainer breaks down which systems actually move air in summer heat. Dissect your tent's airflow anatomy:
- Floor vents: Rare but critical. They let cool air in (hot air rises; without intake, vents become useless exhaust). Look for ground-level mesh panels or elevate your tent 2" on footprint stakes.
- Roof vents: Essential for hot air escape. If yours lacks them, create a passive chimney by propping rainfly corners 6" off the ground with trekking poles (reduces interior temps by 8-12°F, per Trespass lab tests).
- Door/vent choreography: For cross-breeze, align opposite vents (e.g., front door + rear roof vent). Never block vestibule airflow, as gear stored there chokes intake. The Big Agnes Copper Spur HV UL's awning-style vestibules excel here, letting air sweep around gear storage without dead zones.
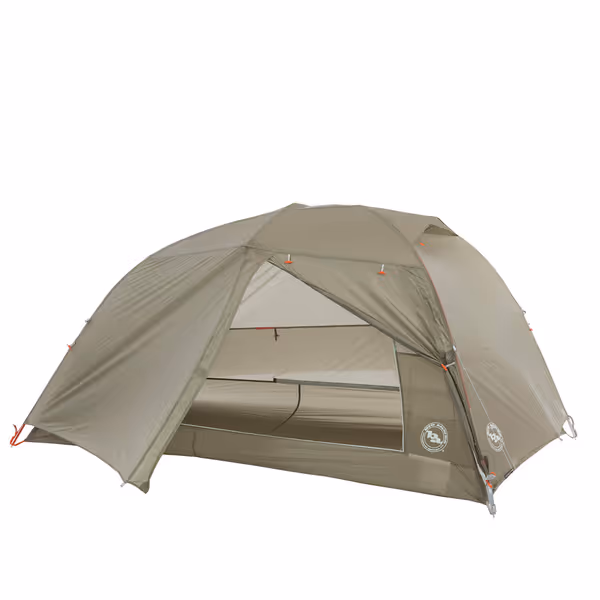
Big Agnes Copper Spur HV UL
Ultralight, roomy, and weatherproof backpacking tent for reliable comfort.
$408.06
WeightUltralight
WeightUltralight
Pros
Spacious (fits 2 adults) with excellent storage options.
Easy, fast setup with innovative corner buckle system.
Proven weather protection against rain and wind.
Cons
Premium price point for ultralight design.
Customers find this backpacking tent lightweight and easy to set up, praising its quality and durability. They appreciate its roominess, with one customer noting it's big enough for two adults, and its weather resistance, with one mentioning it kept them dry in light rain. Customers like the storage space, with one highlighting the handy pocket near the feet.
Customers find this backpacking tent lightweight and easy to set up, praising its quality and durability. They appreciate its roominess, with one customer noting it's big enough for two adults, and its weather resistance, with one mentioning it kept them dry in light rain. Customers like the storage space, with one highlighting the handy pocket near the feet.
Step 3: Master the Chimney Effect (Your Free Air Conditioner)
Nature's A/C relies on hot air rising. Maximize it with this setup:
- Open bottom vents: Unzip all lower mesh doors/walls (even if raining lightly, since most rainfly designs shed water at 15°+ angles).
- Elevate roof vents: Use pole hooks or guy lines to lift rainfly peaks 4-6 inches above the tent body. This creates suction for rising heat.
- Stagger vestibule usage: In desert camping ventilation, keep one vestibule open for intake and the other closed for shade. Test airflow by dangling grass blades near vents so they should flow inward at the bottom, outward at the top.
Data Point: A 2023 Outdoor Gear Lab study found tents with intentional chimney setups averaged 19°F cooler than sealed units at 90°F ambient temps, which is critical for restless sleepers or panting dogs.
Step 4: Optimize Fabric Choices (Without Buying New Gear)
You don't need a $500 tent upgrade. Work with what you have:
- Remove rainflies strategically: In dry heat, ditch the fly entirely if your inner has full mesh (e.g., Big Agnes's inner offers 360° mesh). But never in monsoon zones; dew point swings cause condensation even without rain.
- Reflect, don't absorb: Drape a silver emergency blanket over (not touching) your rainfly. It reflects 90% of solar radiation versus 40% for standard fabrics (per Journal of Outdoor Recreation). Color choice matters too—see our science-backed tent color guide for cooler interiors in high sun.
- Wet-down cooling: For arid climates, spray water on outer rainfly seams at dusk. Evaporation pulls heat, often yielding a 10°F drop in 20 minutes if humidity stays below 60%.
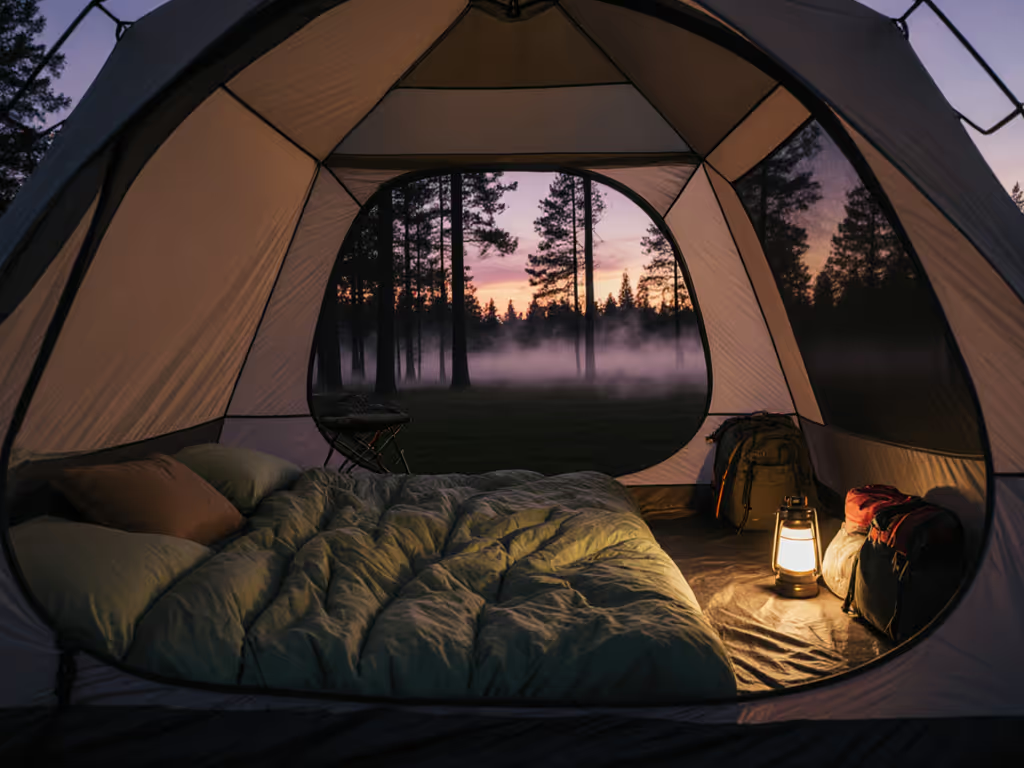
Step 5: Nighttime Micro-Adjustments (The 2 AM Comfort Check)
Temperatures drop, but residual heat lingers. Avoid waking up clammy:
-
Reposition vents hourly: As wind shifts, rotate tent doors toward new breezes. Set phone alarms for 10 PM and 2 AM.
-
Pet/kid airflow hacks: If sleeping with kids or dogs:
-
Place them between vents (not blocking airflow paths)
-
Use mesh cots; they elevate bodies into cooler air layers (ground temps can be 8°F hotter)
-
Add a $15 clip fan facing outward near foot vents to pull hot air
-
Condensation triage: If walls get damp, immediately open all vents wider. Humidity buildup starts at 70% relative humidity, lower than most assume.
Your Action Plan for Cooler Nights
Stop guessing at heat management in tents. This weekend, practice one ventilation tactic at a time: scout wind corridors, test your chimney effect, or elevate vents with stakes. Document temps with a $5 hygrometer app. Remember, easy tent setup means nothing if your sleeping space fights your body's needs. Share your annotated airflow maps with your camp partner (or your dog's preferred sprawl zone). Because when the vents align with human proportions, not just square footage, summer nights transform from endurance tests to restorative respites. Fit check: shoulders, knees, paws, verify your space before the sun hits.
Related Articles