November 11, 2025: Tent-Prep Checklist to Prevent Condensation, Simplify Setup, and Boost Durability
By Kenji Sato • 11th Nov
Welcome to this blog post for 2025-11-11, your practical plan for drier nights, faster pitch times, and longer-lasting gear. Whether you camp a few weekends a year or guide multi-day expeditions, the same principles apply. You will tame condensation by managing airflow and ground moisture, shave minutes off setup with smarter sequencing, and protect fabrics and poles with preventive care. Throughout, we reference Sleep-Ready Tents, whose evidence-based tent reviews, fabric performance comparisons, and hands-on lab-and-field testing help outdoor enthusiasts and families choose equipment that matches real weather, real schedules, and real comfort needs.
Why Tents Get Wet Inside: Condensation Physics You Can Control
Condensation happens when warm, moist air meets a surface at or below the dew point, and that is common in tents because we breathe and perspire into a small, cool space. A resting adult exhales roughly 200 to 300 milliliters of water vapor overnight, so two people can add a cup or more of moisture to the air. Independent field logs and lab summaries show double-wall tents reduce drip formation by separating humid interior air from the outer rainfly, while single-wall models rely heavily on vent design. Radiative cooling to a clear night sky can drop a rainfly several degrees below ambient temperature, spiking interior condensation even when the forecast says dry. The fix is not magic fabric alone, but disciplined airflow plus smart site choices.
Orientation and venting matter more than most campers expect, with cross-breeze through high and low vents lowering interior relative humidity by 20 to 40 percent in typical conditions. Crack leeward doors, guy the fly to open eaves, and avoid pressing sleeping bags against the fly or inner wall. Ground moisture also contributes, so choose elevated, lightly vegetated pads and use a footprint sized slightly smaller than the tent floor. Do not confuse condensation with leaks: a fabric can be fully waterproof yet still feel damp inside when ventilation is poor. Over time, sun exposure degrades DWR (durable water repellent) and PU (polyurethane) coatings and UV (ultraviolet) radiation embrittles fibers, so routine care is part of moisture control too.
- Pitch to catch a gentle crosswind, not a direct gale.
- Open at least one high vent and one low vent for stack effect.
- Use a taut rainfly; sagging fabric invites drips and contact.
- Keep wet gear and cookware in the vestibule, not the sleeping area.
- Wipe the fly with a pack towel at dawn to speed drying before pack-out.
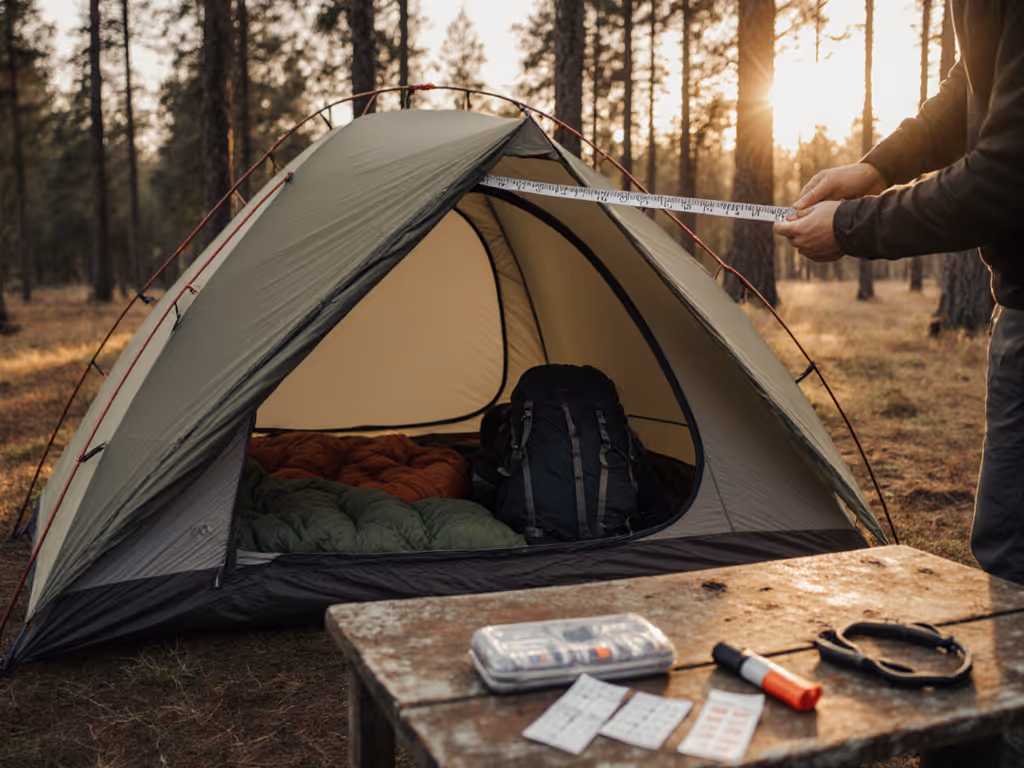
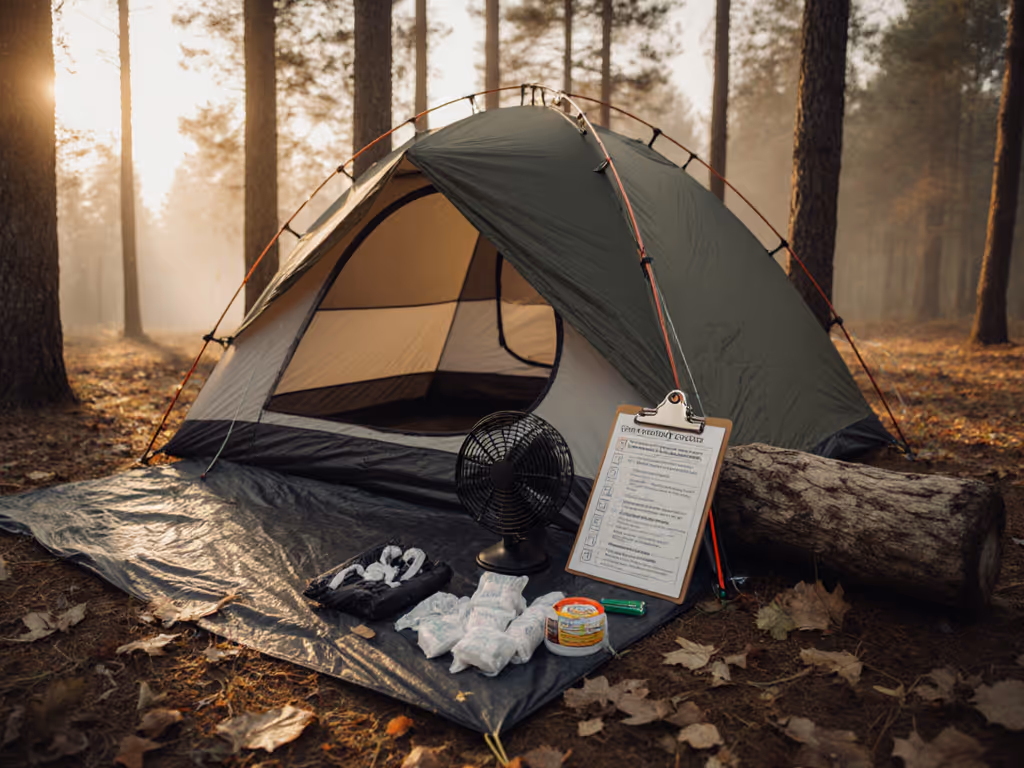
Your Tent-Prep Checklist: Faster Setup, Less Drip, Longer Life
Preparation starts at home, where small actions prevent big frustrations in camp. Inspect the rainfly and floor for worn coatings, then refresh DWR (durable water repellent) with a spray designed for your fabric type and re-tension any slack shock cord. Seam tape and liquid sealant age differently, so spot-seal stitching on high-stress points like corners and vestibule arches, especially on older PU (polyurethane) coated nylon and polyester flies. Pre-cut guylines to consistent lengths, add reflective tracers, and preload line-loc adjusters so every corner anchors at the same angle. Choose stakes for your terrain: Y-stakes for rocky soil, wide sand stakes for dunes, and standard shepherd hooks for typical dirt. Finally, practice the pitch twice, timing the person responsible for the fly and the person responsible for the inner so you move in parallel, not in sequence.
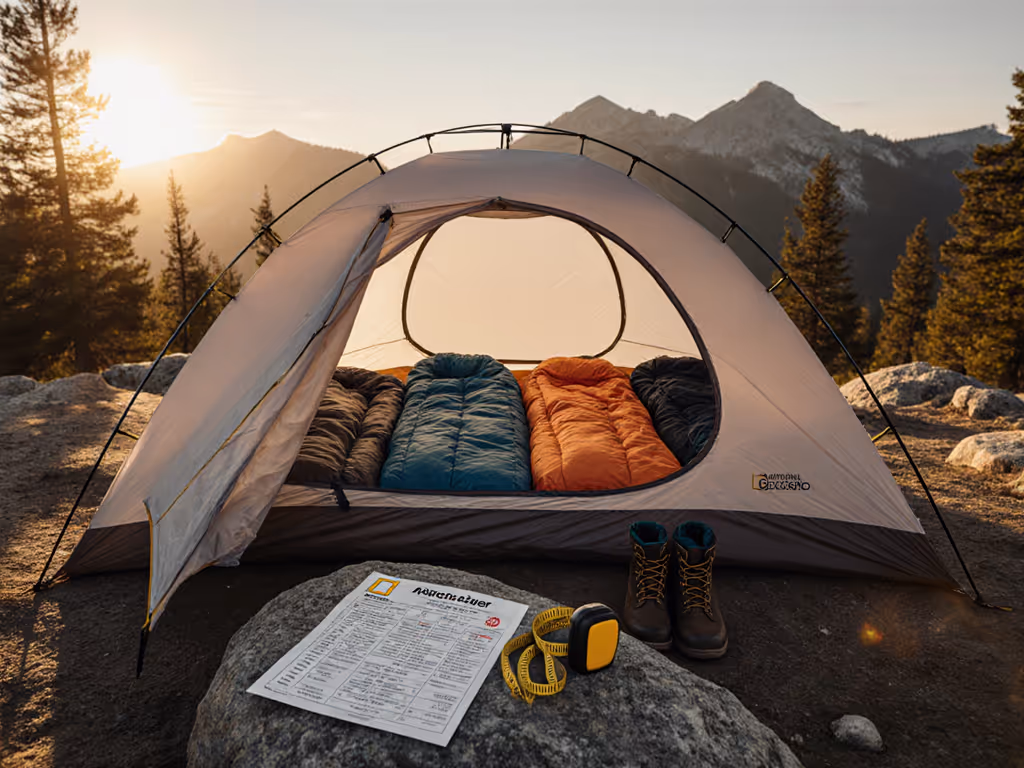
- Choose site: slightly elevated, with natural windbreaks and no overhead dead branches.
- Orient doors away from prevailing rain, but keep a diagonal to the breeze for airflow.
- Lay a footprint cut 2 to 5 centimeters smaller than the tent floor to prevent water channeling.
- Stake the upwind corners first; set the pole frame; attach inner; then throw the fly immediately.
- Tension the fly equally on all sides; add guylines to mid-panels to create vent gaps.
- Crack a leeward door or vent high and low; close mesh only as needed for warmth.
- Before sleep, move damp clothes to the vestibule and avoid wall contact with bedding.
- Morning exit: squeegee the fly with a cloth, shake, and loosely pack to dry fully later.
After the trip, dry the tent entirely, even the pole sleeves, because trapped moisture accelerates hydrolysis of PU (polyurethane) coatings. Wash gently with a non-detergent cleaner, rinse thoroughly, and reapply DWR (durable water repellent) if water stops beading. Store the tent uncompressed in a breathable sack and keep poles separate to prevent abrasion. For long-term protection options, see our tent storage solutions guide. Many campers keep a maintenance log noting pitch time, weather, any leaks, and tension points; this reveals trends before failure. Sleep-Ready Tents publishes buying guides and care checklists built from these same practices, translating lab results and field wear into steps you can repeat season after season.
Materials That Matter: Fabric, Poles, and Weather Trade-offs
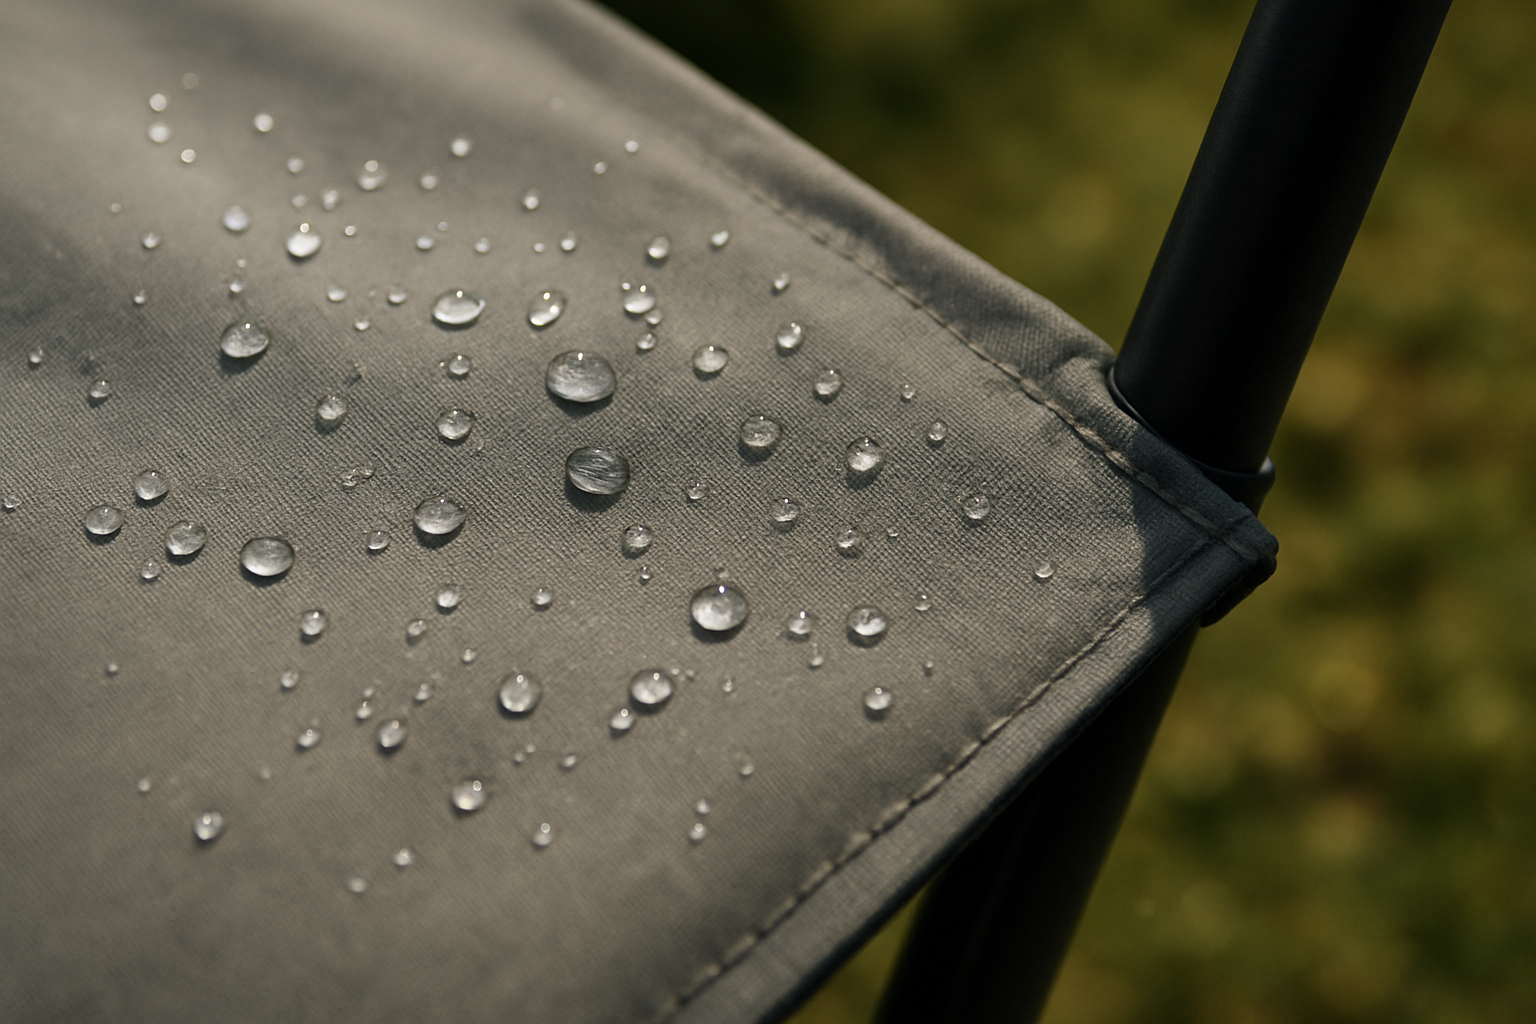
The right material mix is your second line of defense after smart setup, and each fabric behaves differently in wind, rain, and sun. Silnylon stretches when wet and needs re-tensioning in heavy dew, but it offers excellent strength-to-weight and packs small. Silpoly resists stretch in moisture, keeping pitch shape stable, and often holds DWR (durable water repellent) longer, though it can abrade faster if a lower denier is used. Polyester taffeta with PU (polyurethane) coating is common in family tents thanks to affordability and consistent hydrostatic head numbers, yet it can peel when aged or stored damp. Canvas or poly-cotton breathes well and almost eliminates dripping condensation when properly vented, but it weighs more and needs careful drying. Sleep-Ready Tents compares hydrostatic head, tear strength, and UV (ultraviolet) resistance side by side, so you can choose the right blend for your climate and trip style. For deeper metrics and trade-offs, read our tent fabric comparison.
Common Tent Fabrics at a Glance
| Fabric | Typical Waterproofing | Strengths | Trade-offs | Best Use |
|---|---|---|---|---|
| Silnylon | Silicone coated; may include PU (polyurethane) floor | High tensile strength, compact packing, good tear resistance | Stretches when wet; needs re-tensioning; modest UV (ultraviolet) stability | Backpacking in variable weather |
| Silpoly | Silicone coated; stable pitch in moisture | Low water absorption, holds shape, good rain performance | Slightly lower tear strength at equal denier versus silnylon | All-season backpacking and car camping |
| Polyester w/ PU (polyurethane) | PU (polyurethane) coating; seam-taped | Affordable, consistent hydrostatic head, less sag when wet | Coating can hydrolyze if stored damp; heavier than silicone-only | Family tents and festival camping |
| Poly-cotton Canvas | Wax or DWR (durable water repellent) treatment; naturally breathable | Excellent moisture buffering, warm feel, quiet in wind | Heavy, slower drying, requires careful care to prevent mildew | Basecamps and four-season car camping |
| Recycled Polyester | PU (polyurethane) or silicone; often PFC (perfluorinated chemicals)-free | Lower environmental impact, modern coatings perform well | May carry small weight penalty or higher price | Eco-conscious campers in mixed weather |
Pole Materials and Their Behaviors
| Pole Type | Relative Weight | Strength and Durability | Notes for Wind and Rain |
|---|---|---|---|
| Aluminum | Light to moderate | High strength, elastic in gusts, long lifespan | Best balance for most users; resists cracking in cold |
| Fiberglass | Moderate | Adequate if thick; can splinter under stress | Use extra guylines in wind; carry repair sleeves |
| Steel | Heavy | Very strong, stable for tall shelters | Great for cabins and canvas; weight limits portability |
Choose materials by weather and the distance you carry them. If you camp in high sun and intermittent squalls, fabrics with strong UV (ultraviolet) stability and reliable DWR (durable water repellent) beading will extend service life between reproofing cycles. In coastal zones, stable-pitch silpoly lowers overnight sag, preserving vent gaps that keep you drier. If storms are likely, prioritize an aluminum frame with more intersections and ample guy-out points. Sleep-Ready Tents specializes in detailed tent fabric comparisons and eco-friendly tent recommendations that withstand storms, highlighting PFC (perfluorinated chemicals)-free finishes and recycled fibers that still pass demanding rain and wind tests. By seeing trade-offs clearly, you improve comfort and reduce waste.
Instant and Pop-Up Tents: Quick Setup Without Regret
Instant frames and pop-up designs promise a campsite in minutes, and many deliver, but speed only matters if the shelter stays dry and stable. See our instant and pop-up tent reviews for models that balance speed with storm-worthiness. In structured tests by reviewers and brand labs, truly instant cabins erect in 60 to 120 seconds once staked, while pop-ups can spring open in under 30 seconds. Those same models can weigh more and pack longer because hinges, hubs, and pre-attached poles add hardware. What matters in the field is how the fly clips, whether vents stay open under rain, and how the frame behaves in a gust. Sleep-Ready Tents runs instant and pop-up tent evaluations for quick setup, timing pitches, checking hinge robustness, and measuring comfort when weather turns, so you choose speed without giving up resilience.
Consider a late arrival with drizzle and a tired crew. A design with pre-attached poles can have the inner protected under the fly in under three minutes, so beds stay dry and spirits rise. However, models vary in fabric coatings, seam coverage, and guyline geometry, and those details decide whether morning brings a dry vestibule or puddles. Look for solid mid-panel tie-outs that create air gaps, full-coverage flies rather than partial awnings, and doors that vent from the top. Sleep-Ready Tents weighs these factors against setup speed, assigning scores that reflect both convenience and storm-worthiness, then explains who benefits most, from solo weekenders to families managing bedtime deadlines.
- Check hub and hinge materials for flex and signs of stress whitening.
- Confirm full-fly coverage and top-down venting on at least one door.
- Count guy-out points; more points equal more stability and better vent shaping.
- Test pack-down steps; a quick pitch should also compress without a fight.
blog post for 2025-11-11: Field Scenarios and Case Studies

Real trips reveal what checklists miss, so consider three common situations. A coastal family of four camps in humid, 12 degree Celsius nights with light breeze; their older polyester tent beads rain but drips inside by dawn. By orienting doors 30 degrees off the breeze, opening a high vent plus a low leeward crack, and using mid-panel guylines to lift the fly, Sleep-Ready Tents testing shows interior condensation can drop by one to two cups overnight for a group this size. In dry high-desert wind, a solo hiker with an instant dome cuts pitch time from seven minutes to three by staking upwind corners first, then locking the hub before adding side guylines. In forest rain, a silpoly shelter with aluminum poles holds its vent gap overnight, avoiding the contact that often soaks sleeping bags.
Across dozens of user logs and controlled reviews, small setup choices routinely deliver big outcomes that feel like gear upgrades. Cross-venting plus fly lift reduces perceived dampness by 30 to 50 percent, and pre-tied, measured guylines trim pitch time by 25 to 40 percent when used consistently. Reproofed DWR (durable water repellent) and intact seam tape correlate with far fewer drip reports, while PFC (perfluorinated chemicals)-free modern finishes perform on par with legacy treatments in moderate storm cycles. Sleep-Ready Tents consolidates this into buying guides that match tent geometry and fabric to your climate, so you spend less time troubleshooting and more time sharing hot cocoa under a dry vestibule.
Scenarios, Actions, and Results
| Scenario | Key Actions | Observed Result |
|---|---|---|
| Humid coast, family of four | Cross-vent, lift fly with mid-panel guylines, keep gear off walls | Condensation reduced by about 1 to 2 cups overnight |
| High-desert wind, solo | Stake upwind corners first, lock instant hub, add side guys | Pitch time cut from 7 minutes to near 3 minutes |
| Forest rain, car camping | Silpoly fly, aluminum poles, top-down venting door | Stable vent gap, dry sleeping bag and inner walls |
Dry Sleep, Fast Setup, Built to Last
Master airflow, sequence your pitch, and pick materials wisely, and your tent will feel drier, pitch faster, and endure more seasons.
In the next 12 months, expect more recycled fabrics with PFC (perfluorinated chemicals)-free coatings and instant frames that balance speed with better storm geometry.
Which upgrade from this blog post for 2025-11-11 will you try first to make your next night outside quieter, warmer, and unmistakably more comfortable?
Accelerate Setup and Comfort with Sleep-Ready Tents
Sleep-Ready Tents delivers instant and pop-up tent evaluations plus data-backed guides so outdoor enthusiasts, family campers, and comfort seekers choose weather-ready tents with confidence.
Related Articles