Tent Measurement Standards: Real Capacity vs. Claims
By Eliza Kowalski • 8th Apr
Marketing claims about tent capacity often tell only half the story. A manufacturer declares that a shelter "sleeps 4," yet when you lay down a sleeping pad, hang your partner's gear, and try to find room for a dog, you discover the math doesn't account for the slope of walls, the taper at the foot end, the poles running through the interior, or the simple truth that humans require headroom as well as floor area. Tent measurement standards exist, but they measure footprint and floor area, not lived comfort. Understanding the difference between what those standards claim and what actually fits is essential before you commit to a tent that becomes a source of friction rather than respite.
How Tent Measurement Standards Work
When manufacturers and retailers specify tent dimensions, they follow a consistent but narrow methodology. Tent sizes are listed by footprint (length × width), such as 10×10 ft, which describes the perimeter of fabric at ground level. A 10×10 ft tent, for example, occupies 100 square feet of floor space. That measurement is precise, it defines the tent's outer boundary. What it does not capture is usable interior space after walls slope inward, or after poles and frames claim their own physical room. For a practical look at how structure changes usable space, see our dome vs cabin space comparison.
Capacity recommendations, by contrast, vary widely depending on context. Industry guidelines for event tents suggest different occupancy standards depending on whether guests are seating only, with bar and buffet, or with dance floor and DJ. For example, an event tent accommodating 100 guests in seating-only layout might be 20×50 ft (1,000 square feet), but the same 100 guests with dancing and a bar requires 40×50 ft (2,000 square feet). The difference reflects not a change in the tent, but a change in what "capacity" actually means: square footage per person, activity type, and freedom of movement.
Camping tents rarely carry such explicit disclaimers. A "4-person" tent is often sold with a single spec, the footprint, and the buyer is left to infer capacity without knowing whether the manufacturer assumed 5 square feet per sleeping pad, 10 square feet per person, or simply fit the tent onto a factory pallet and called it a number. If you are unsure where to start, use our realistic tent size guide to translate specs into comfortable occupancy.
The Confounders: Why Real Space Falls Short
Three factors reliably reduce the usable interior space below what the footprint suggests. First, sloped sidewalls and tapered foot sections (necessary for rain runoff and structural strength) consume valuable real estate. A tent with vertical walls in the center that taper to 18 inches of height at the foot end may have a 10 ft × 7 ft exterior footprint, but the effective sleeping area is narrower and shorter at the extremes. A pad placed at the foot end fits fully only if you tolerate your head or feet touching the sloped fabric during sleep.
Second, poles and frame geometry claim interior volume. A 3-pole structure, a ridge pole, or a center pole supporting the canopy may reduce usable floor space by 5 to 15 percent, depending on diameter and placement. A pole running down the center reduces lateral width where two campers might lie side by side; corner or catenary poles consume corner space where you might otherwise stash a backpack.
Third, user behavior never matches laboratory conditions. In testing or retail display, a tent is empty. In real life, you enter with a sleeping pad, a partner's pad, pillows, damp shoes, a charging cable, maybe a small cooler, and a dog with muddy paws. These items demand floor space and headroom. A pad occupies not just the sleeping surface but the margin around it (the space needed to roll over without pressing your face against the tent wall or your sleeping bag against the fly, which creates condensation transfer).
These confounders are not failures of the tent; they are features of real camping. Measured routines turn storms into ordinary, manageable mornings, and that begins with honest measurement, not fantasy layouts.
Verifying Capacity Claims: A Field Approach
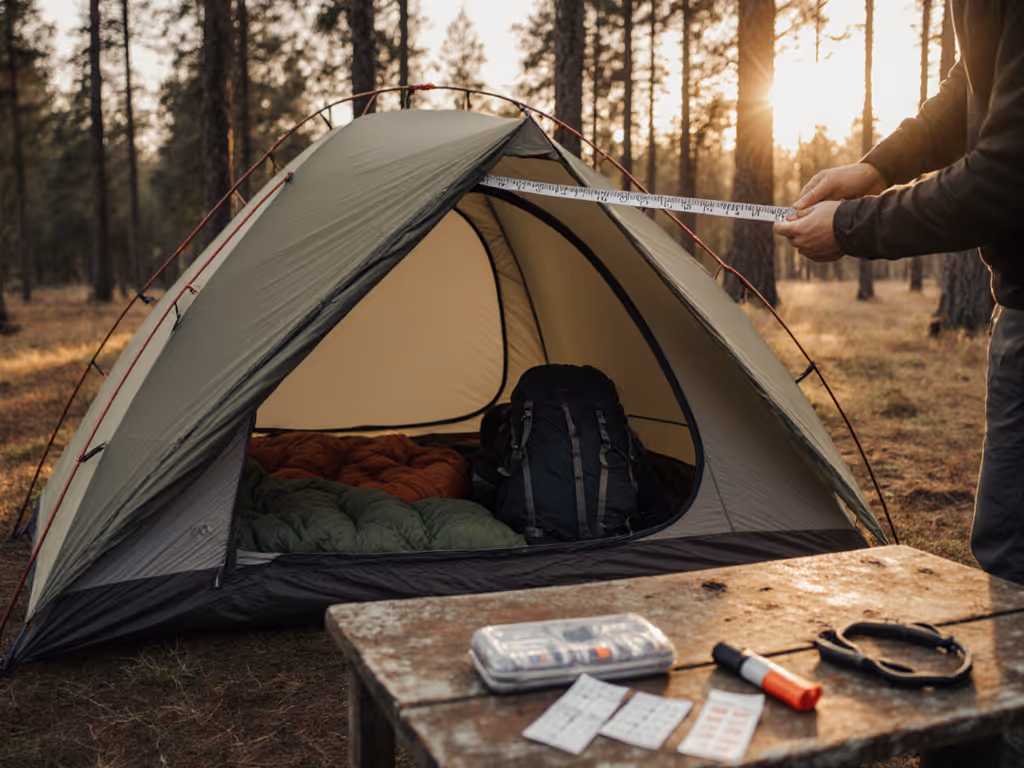
Evidence before anecdotes. Begin by requesting or obtaining the manufacturer's specification sheet, which should list not only footprint (length and width) but also interior dimensions at the widest point, interior headroom at peak, and floor area in usable (not theoretical) square feet. Reputable brands provide these details; vague listings are a red flag.
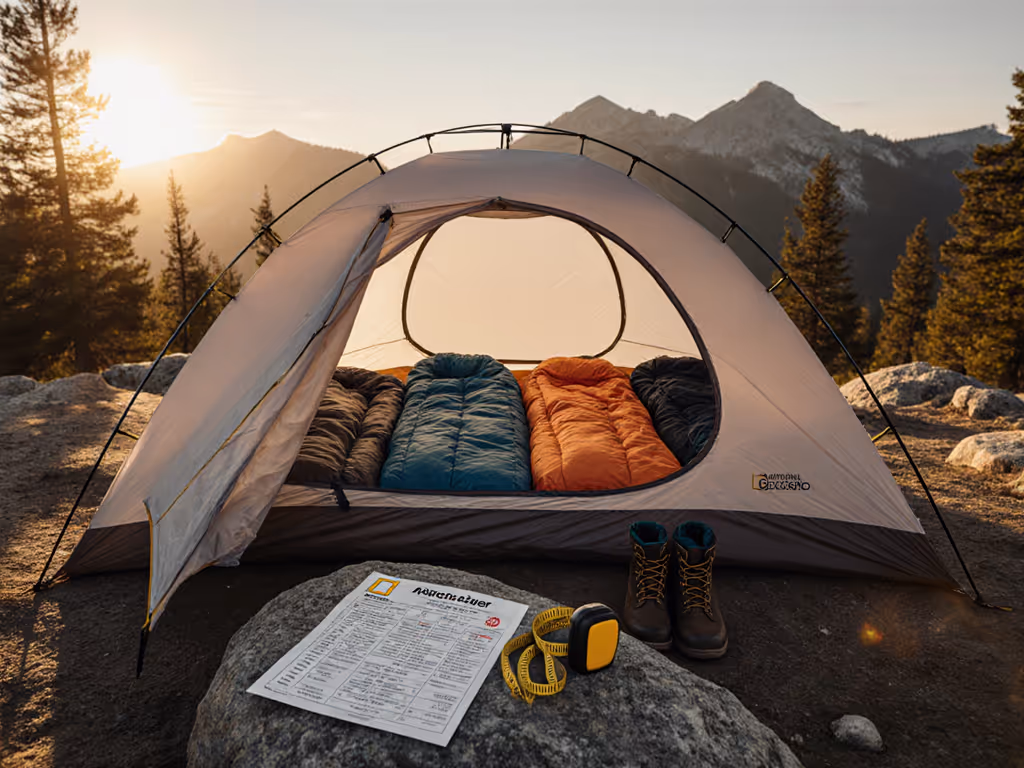
Next, map a real layout. Obtain or sketch the floor plan to scale, then draw sleeping pads at actual dimensions (a standard pad is roughly 20 in. wide × 72 in. long, or 10.8 square feet). Place them side by side or head to foot, as you plan to use the tent. Now add a 12-inch margin around the sleeping area (space needed to sit, dress, or access a small pack). Add vestibule space if you plan to store muddy gear or a pet. The remaining floor area tells you how much overhead room exists for movement and comfort.
Height is equally critical. The specification sheet should list both sidewall height (where the vertical wall meets the floor) and peak interior headroom (the highest point inside, typically at the center or ridge). If peak height is 48 inches and sidewall height is 36 inches, you have roughly 12 inches of taper across half the floor depth. Anyone 6 feet tall sleeping in the lower half will experience head contact. Peak height practicality means verifying not just the number but where that height occurs, and if it's a narrow ridge down the center, the usable headroom for two parallel sleepers may be 6 to 12 inches lower.
When evaluating capacity, survey long-form reviews and forum posts from campers with similar partner, child, and pet configurations. Sellers' photos showing the tent fully furnished offer more truth than marketing renders. If no one online has posted an image of the tent occupied by two adults, a toddler, and a dog, you lack critical evidence. Request it, or plan your own test before committing to a multi-day trip.
Vestibule and Storage: Often the Bottleneck
Capacity claims typically ignore vestibule function, yet vestibule space evaluation is where real-world comfort often succeeds or fails. A vestibule (the recessed entry area outside the sleeping compartment but under the fly) serves as mudroom, storage, and kitchen for basecamp trips. It must accommodate boots, a small stove, a pet carrier, or a child's wet jacket without encroaching on sleeping space or blocking the door swing. To turn that space into a calm, organized mudroom, explore our vestibule storage solutions.
Vestibule dimensions are rarely highlighted in marketing. Yet a shallow vestibule (12 to 18 inches deep) forces muddy boots to lean against the sleeping area door or sit partially on the sleeping pad. A vestibule lacking a solid floor mat or fabric border allows dirt to migrate onto pads and sleeping bags. If you plan to sleep in shoulder seasons (spring and fall, when condensation is most problematic), a separated vestibule allows you to store a stove outside the sleeping compartment, reducing interior moisture and heat. A generous vestibule, with clear workflow lanes for entry, storage, and retrieval, turns a multi-day trip into a series of predictable, calm mornings. A cramped one invites friction.
Manufacturers list vestibule floor area for large dome or 4-season tents but often omit it for mid-range family or couple shelters. When spec sheets are silent, photos and user reviews again become your evidence base.
Peak Height and Headroom Practicality
A tent claiming 48 inches of peak headroom meets a technical standard: there is, somewhere inside, a point 48 inches tall. That does not mean you can sit upright and comfortably for an hour while dressing. Peak height practicality requires understanding where that height is located and whether you can access it without contorting your spine.
In geodesic or single-pole designs, peak height occurs at the center or ridge, and headroom tapers sharply toward the walls. In frame tents or cabin-style structures, headroom may be more uniform. If you are a couple, one 5'8" and one 6'2", the taller partner's experience of a 48-inch peak tent is different from the shorter one's. Verify whether the taller camper can sit without touching fabric or whether they will spend the night in a perpetual forward lean, which disrupts sleep and creates a sense of claustrophobia.
Height matters for another reason: if your head or wet sleeping bag touches the interior of the fly during sleep, moisture condenses on the fabric and drips back onto your gear. For prevention strategies that actually work, use our condensation control guide. This confound, the interaction between limited headroom and condensation, is often dismissed as a manufacturing flaw when it is actually a consequence of inadequate space and poor ventilation coordination. A tent with sufficient headroom and clear airflow paths allows a camper to maintain distance from the fly, reducing condensation transfer.
Building Your Evidence Database
Do not rely on a single review or a manufacturer's spec sheet. Instead, collect observations longitudinally. If you borrow or rent a tent before buying, photograph the layout with sleeping pads in place. Note the date, weather, number of occupants, and any comfort issues. Record headroom clearance by standing inside and marking the highest point you can reach without stooping. Note vestibule capacity by listing what you stored and whether there was friction during entry or retrieval.
If you encounter condensation, document the conditions: interior temperature, exterior temperature, humidity, whether you vented the fly or kept it sealed, and how long moisture persisted in the morning. Condensation is not a failure, it is feedback. Methodology notes on condensation under various configurations inform your next tent choice or your adjustment of ventilation routine.
Over time, this evidence database becomes your personal calibration for capacity and comfort. For comfort-first layouts and organization tactics grounded in field testing, see our true tent capacity guide. You will notice patterns: certain tent styles, heights, or vestibule depths align with your family or partnership's needs; others create predictable friction. That calibration is far more valuable than any marketing claim.
Conclusion: Moving Beyond the Claim
Tent measurement standards provide a starting point, but they do not guarantee comfort or appropriate capacity for your specific configuration. Real capacity is determined by footprint, internal geometry, pole placement, peak height location, vestibule function, and the honest reality of how you occupy space while sleeping, dressing, and storing gear.
Before purchasing, gather evidence: request detailed specs, sketch or photograph layouts with real pads in place, read longitudinal reviews from campers similar to you, and if possible, test the tent yourself. Look for manufacturers who provide not just footprint but usable floor area, peak height location, and vestibule dimensions. When capacity claims lack specificity, that opacity is itself informative.
The goal is not a tent that technically "fits" four people but one that allows four people (or you, your partner, and your two dogs) to sleep, dress, and morning-routine with predictable calm. That is what evidence-backed tent selection delivers. Explore tent specification sheets from manufacturers known for transparency, join owner forums specific to tent models you are considering, and build your own database of real-world observations before you invest. The time you spend now on verification pays dividends across every multi-season trip ahead.
Related Articles