Tent Ventilation Optimization: Weather-Specific Setup Guide
By Kenji Sato • 15th Mar
Tent ventilation optimization and condensation management techniques transform a clammy, uncomfortable night into peaceful sleep, yet most campers treat airflow as an afterthought. Whether you're pitching in mountain cold or humid summer heat, the difference between a miserable dawn and waking refreshed comes down to intentional tent airflow dynamics and a simple setup rhythm that works in the dark, in the rain, or with two kids and a dog inside.
After timing hundreds of real-world pitches with families across seasons, I've learned that fast, predictable setup is the gateway to warmth, morale, and sleep. This guide breaks weather-specific ventilation into timed drills and color-coded steps that any adult can execute reliably (no gear experience required).
Why Ventilation Matters More Than You Think
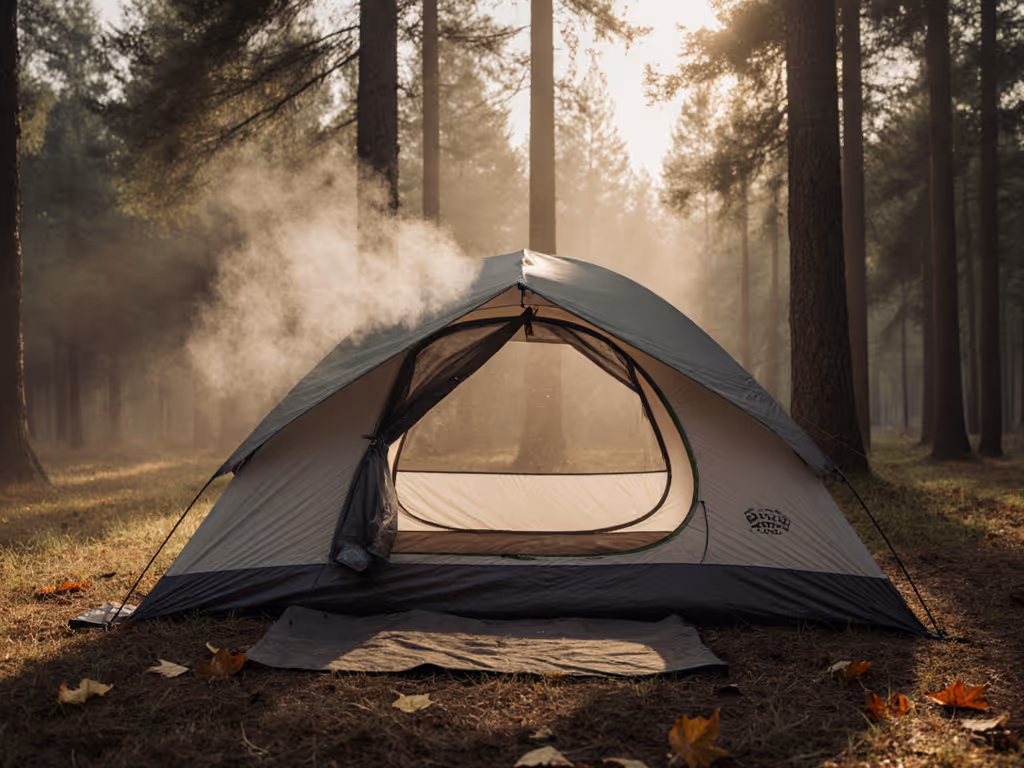
Condensation isn't just annoying; it's the enemy of sleep quality. Warm breath, damp gear, and trapped moisture create clammy interiors that chill families and corrode gear durability. At the same time, passive tents without airflow become stuffy dead zones in summer: oxygen depletes, heat traps, and tension rises.
The sweet spot is controlled airflow: fresh air cycling through without turning your shelter into a wind tunnel. This means positioning intake and exhaust strategically, understanding how your tent's geometry creates natural air paths, and adjusting your setup based on season and weather.
Understanding Tent Airflow Dynamics
Most tents use cross-ventilation setup principles borrowed from passive house design. For a deeper breakdown of ventilation design systems and how they move air, see our engineering guide. Here's how air naturally moves:
Intake and Exhaust Placement
Position intake vents (windows, mesh panels, or doors) low and windward; exhaust vents high and leeward. This creates a gentle convection loop where warmer, moister air rises and exits through upper vents while fresh air enters low. The difference in vent placement, not just opening size, drives effective circulation.
Tent Geometry and Airflow
Bathtub floors and sloped sidewalls create natural stagnant zones (typically along the base and in the tent's highest corners). A small oscillating fan or deliberate partial door gap can eliminate these pockets before they turn into condensation farms.
Negative Pressure Principle
If you're using active ventilation (camping fans or powered units), create a slight vacuum by exhausting more air than you intake. This pulls fresh air in continuously and prevents odors from seeping outward (a principle borrowed from grow-room and cold-weather research).
Setup Protocol: Summer Ventilation (Hot, Humid Conditions)
In warm weather, your goal is maximum airflow to shed heat and prevent humidity buildup. For more ways to stay cool, see our hot weather ventilation strategies guide. This typically means opening both door and roof vents wide.
Step 1: Pre-Pitch Site Assessment (2 minutes)
- Walk downwind of your spot; feel the breeze direction.
- Choose a campsite with natural air movement; avoid low-lying pockets where air stagnates.
- Orient your tent's door and roof vent perpendicular to prevailing wind (crosswind exposure maximizes circulation).
Step 2: Deploy Intake Vents (1 minute)
- Open the main tent door fully or crack it to a 6-inch gap.
- Unzip any mesh roof panels or side windows.
- If your tent has adjustable intake flaps, angle them 45 degrees inward to prevent rain intrusion while allowing airflow.
Step 3: Deploy Exhaust Vents (1 minute)
- Open the rainfly's upper vent or flap fully.
- If your fly has adjustable rear vents, open them wide.
- Verify the exhaust vent faces away from the wind (leeward side) so air flows out, not back in.
Step 4: Add Interior Circulation (2 minutes)
- Hang a battery-powered clip-on fan (or small oscillating fan) from a tent pole above sleeping area.
- Point it diagonally toward the exhaust vent.
- Set to low; fan noise during sleep matters more than maximum airflow in summer.
Muscle-Memory Cue: "Door wide, roof open, fan low: summer flows."
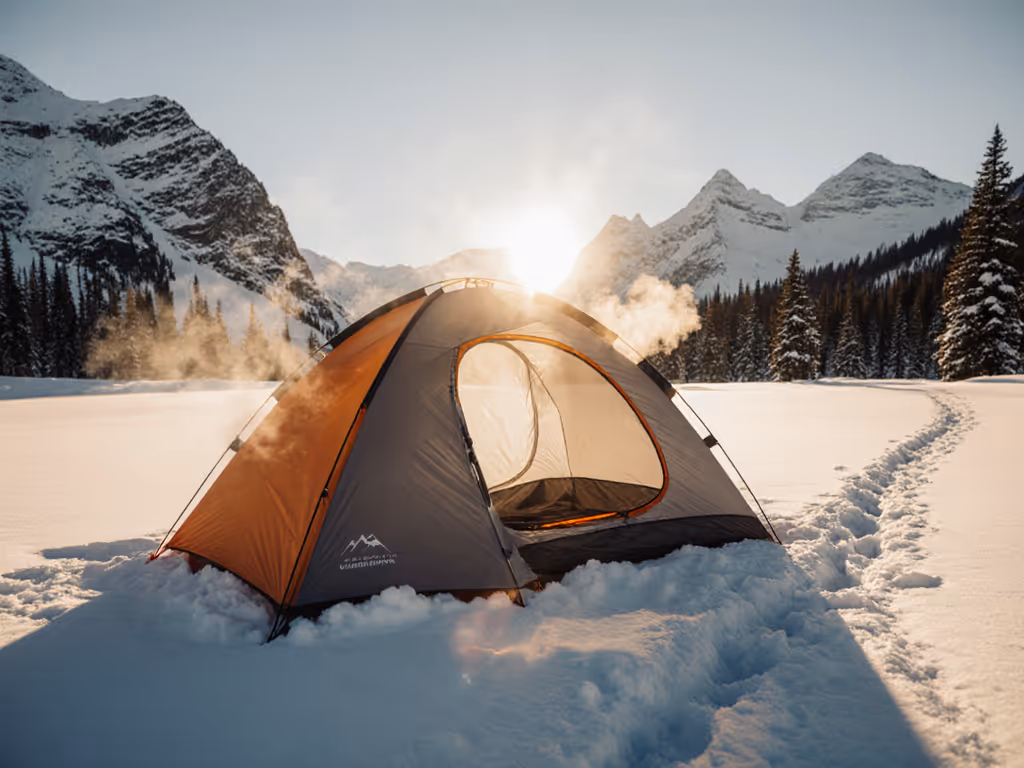
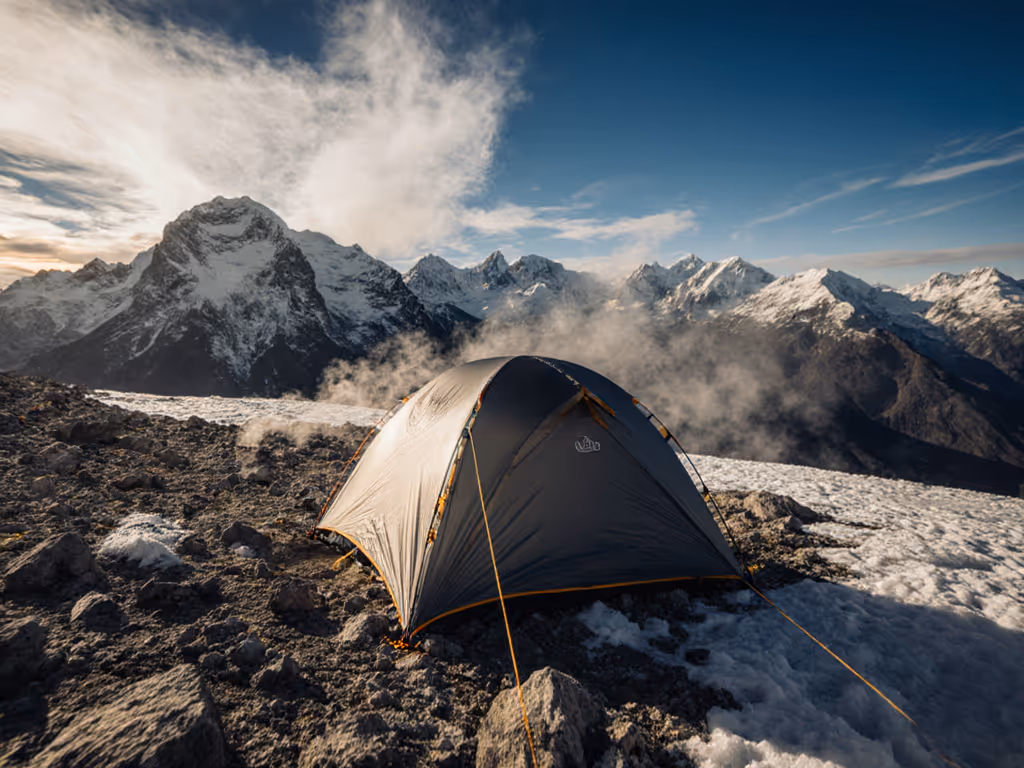
Setup Protocol: Cold-Weather Ventilation (Shoulder Season & Winter)
Counter-intuitive as it sounds, ventilation in cold weather is more critical than in summer. Condensation forms when warm breath meets cold surfaces, and a sealed tent becomes a moisture trap. The goal is camping tent moisture control: letting humidity escape without losing heat.
Step 1: Choose Vent Configuration (2 minutes)
- Identify your tent's passive vents: typically a door, roof vent, and sometimes side windows.
- Crack the main door just 1-2 inches (enough to slide a pencil through).
- Partially open the roof vent: usually 1/4 to 1/3 of its full range.
- Avoid fully sealing vents; condensation will rain onto sleeping bags in hours.
Step 2: Position Vent Openings (1 minute)
- Ensure the cracked door and roof vent are on opposite sides of the tent to create cross-flow.
- The roof vent should be at the tent's highest point to allow warm, moist air to exit naturally.
- Tape or secure any loose fabric that might flutter and break the seal.
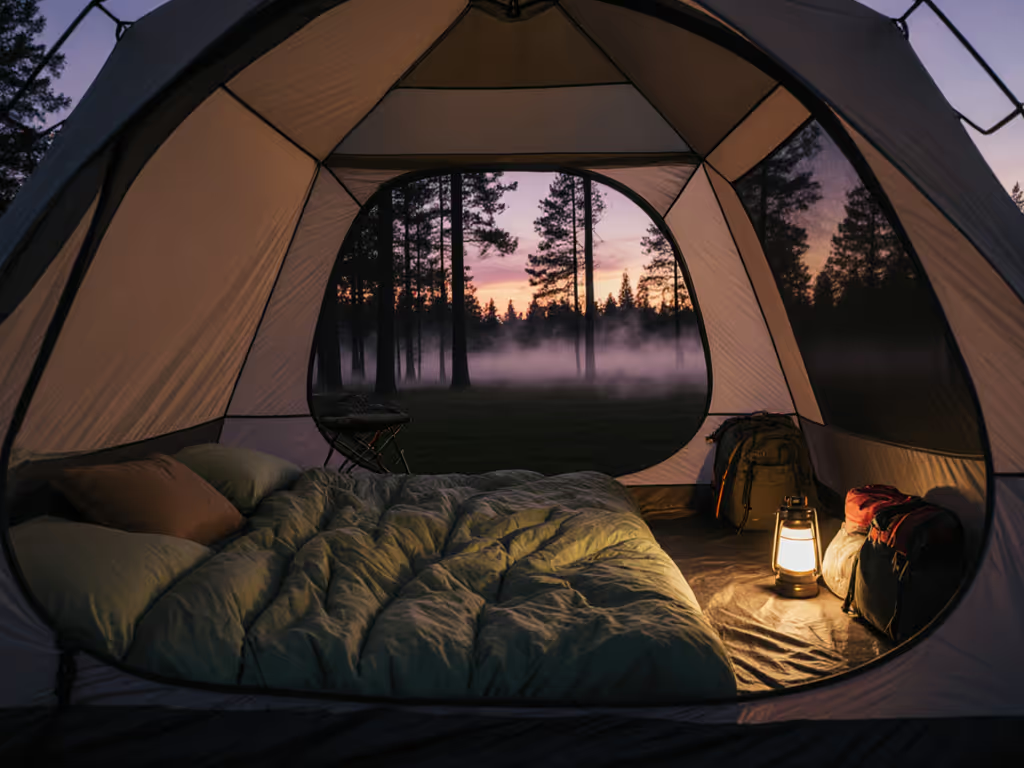
Step 3: Manage Internal Moisture (5 minutes)
- Hang damp gear (socks, jackets) in the tent vestibule, not inside the sleeping area.
- Wipe down the interior sidewalls with a dry cloth before sleeping; this removes any condensation that formed during setup.
- Leave a small cup of uncooked rice or silica packets in a corner to passively absorb moisture overnight.
Step 4: Micro-Fan Placement (Optional, 2 minutes)
- If condensation still appears mid-night, position a battery fan to gently move air toward the cracked door.
- Run it on the lowest setting (just enough to feel a whisper of air).
Color-Coded Reminder:
- Green Vent (door): Crack open 1-2 inches.
- Blue Vent (roof): Open 1/4 way.
- No Red Zones: Sealed edges: they trap moisture.
Condensation Management Techniques: The Real-World Drill
One windy evening, we arrived late with a tired crew. We pitched fast, sealed everything tight for warmth, and skipped ventilation setup entirely. By midnight, condensation was dripping on the kids' faces. We unscrewed the roof vent cap, cracked the door, and suddenly, relief. Everything was damp, but air was moving. We stayed warm because we stopped fighting the physics: moisture has to go somewhere.
Here's the systematic approach:
Identify Condensation Risk Factors
- Morning dew on outer fly: normal and not a problem.
- Interior dripping or beading on inner tent fabric: ventilation failure.
- Damp sleeping bags after night one: an emergency sign to immediately increase airflow.
Adjust in Real Time
- If condensation appears in the first 2-3 hours, open roof vents another 1/4 increment.
- If that doesn't work, crack a side window or increase the door gap to 3-4 inches.
- If moisture is still heavy by hour 5, deploy a small fan to create air movement.
Preventive Measures
- Never cook or heat water inside the tent; cook outside or in a vestibule.
- Dry off muddy gear and bodies before entering; use a towel station at the door.
- Elevate sleeping pads and bags off the tent floor with cots or insulation layers to reduce direct contact with cold surfaces where condensation forms.
Weather-Specific Ventilation Adjustments
Rainy Conditions
Reduce door openings to 1-2 inches; rely on roof and side vents instead. Position the cracked door on the downwind side so rain is blown away from the opening.
Windy Conditions
Sealing one vent slightly and opening another on the downwind side creates stable airflow without internal buffeting. For step-by-step pitching in wind, use our weather-specific setup guide. Avoid orienting the main door directly into the wind.
Transition Seasons (Spring & Fall)
These are the hardest. Use a hybrid setup: large intake (door) and moderate exhaust (roof vent 1/3 open). If the night is cold, prioritize condensation control over warmth; an extra fleece layer is simpler than managing a moisture disaster.
Your Two-Minute Drill, Then Cocoa
Before you sleep, run this final checklist (it takes 120 seconds and prevents 90% of ventilation problems):
- Vent Positions: Door cracked or fully open (summer) / 1-2 inches (winter). Roof vent deployed and clear.
- Cross-Flow: Intake and exhaust on opposite sides or angles.
- Interior Clear: No wet gear inside; damp items in vestibule.
- Fan Ready: If you have one, positioned and within arm's reach for mid-night adjustment.
- Wipe Test: Run your hand along inner tent walls; if beading moisture appears, increase vent openings immediately.
Once ventilation is locked in, you've earned that warm cocoa and the sleep you came for. Families who master this rhythm sleep like they're at home, and that changes everything about the trip.
Your Next Move
Pick your upcoming season or next camping trip. Before you pitch, walk through the setup protocol above for your climate, not during the trip, but at home. Physically rehearse cracking vents to the right degree and positioning your fan. If you have kids, make them part of the drill; it removes confusion in the dark and gives everyone a role. Then test it on your first night, adjust based on what you see (or feel dripping), and you'll own this skill forever.
Speed to shelter is comfort, safety, and family morale. Ventilation isn't optional: it's foundational.
Related Articles