Adaptive Tent Guide: Real Fit, Real Repair
By Aisha Mbaye • 19th Feb
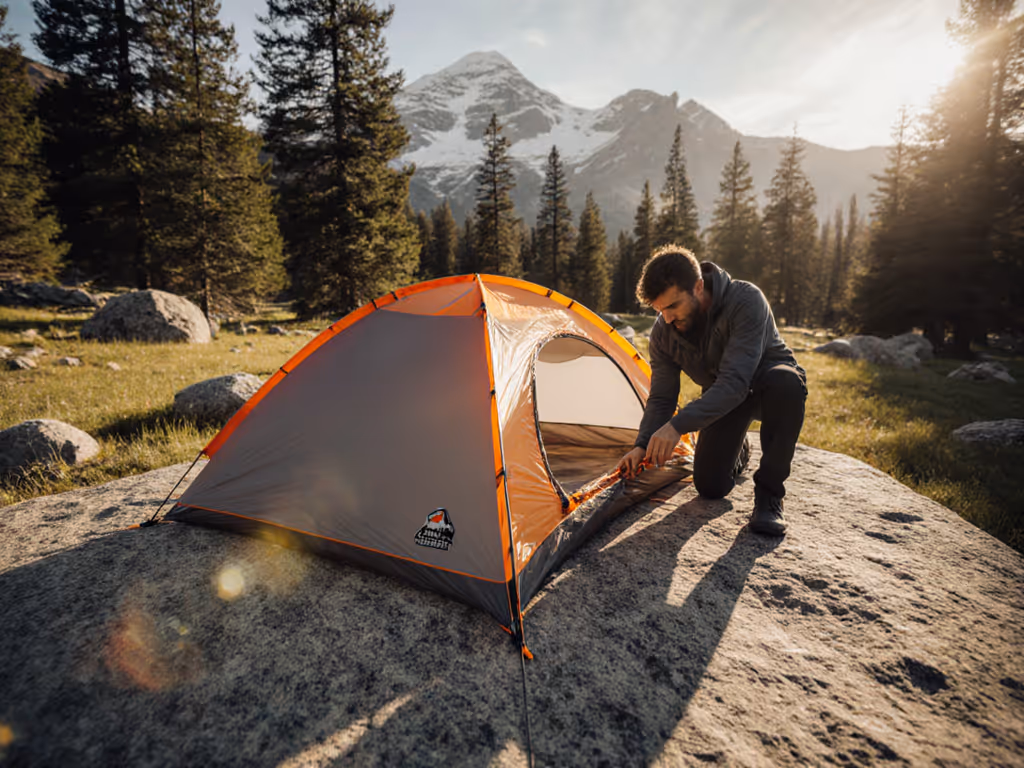
Finding the right disabled camper tent guide means moving past spec sheets and into the reality of your body, your gear, and how a shelter actually performs when you need it most. An adaptive camping shelter isn't just wider or taller, it is designed around the actual barriers people face: transferring from mobility devices, managing condensation without climbing over other bodies, accessing gear quickly, and, crucially, staying repairable for seasons to come.
I evaluate tents through a longevity lens: How many nights will this shelter give you per dollar spent? What happens when the zipper sticks or a seam leaks? Can you patch the floor or replace a pole without shipping it back to the manufacturer? These questions matter more for adaptive campers, where setup flexibility and access to repairs can be the difference between a trip that works and one that doesn't.
What Makes an Adaptive Tent Actually Usable (Beyond the Spec Sheet)?
Threshold height and door geometry are non-negotiable. Standard tent doors have a lip or raised sill that sits off the ground to shed water; for wheelchair users and people with mobility limitations, even 2 to 3 inches becomes a barrier. Look for tents with shallow or flush thresholds and wider doorways (at least 24 to 28 inches ideally, though this is rarely listed on product specs, and visiting a store to measure in person is essential). The door should open outward and to the side, not inward, so you're not fighting to swing it open while inside. For mobility-first layouts and entry systems, explore our wheelchair-accessible tent guide.
Vestibule and porch space are often overlooked in mainstream tent reviews but critical for accessibility. You need a dry, level zone immediately outside the door to stash a wheelchair, crutches, walker, or adaptive gear without hunting around camp. A spacious vestibule (40 to 60+ square feet for two-person tents) also keeps muddy wheels and wet equipment contained, reducing condensation inside the main tent and protecting your sleeping zone.
Interior headroom and vertical usability differ from what makers advertise. A tent listed as "5 feet tall" might only deliver 5 feet of headroom in a narrow center strip; sloped walls and pole geometry choke usable width as you move outward. For sitting upright, dressing, or navigating in a wheelchair, you need genuine 4 to 5+ feet of height across at least 60 to 70% of the floor. Visiting stores, lying down, and imagining your gear stacked nearby reveals the truth.
Floor space allocation is where most campers get blindsided. A "2-person" tent does not accommodate two adults, two pads, two sleeping bags, personal gear, a dog, and realistic movement. For wheelchair campers, a 2 to 3 person tent is often necessary even for a single person, because wheelchair space doesn't compress. Bring a floor plan sketch to the shop, or ask manufacturers for CAD layouts before buying.
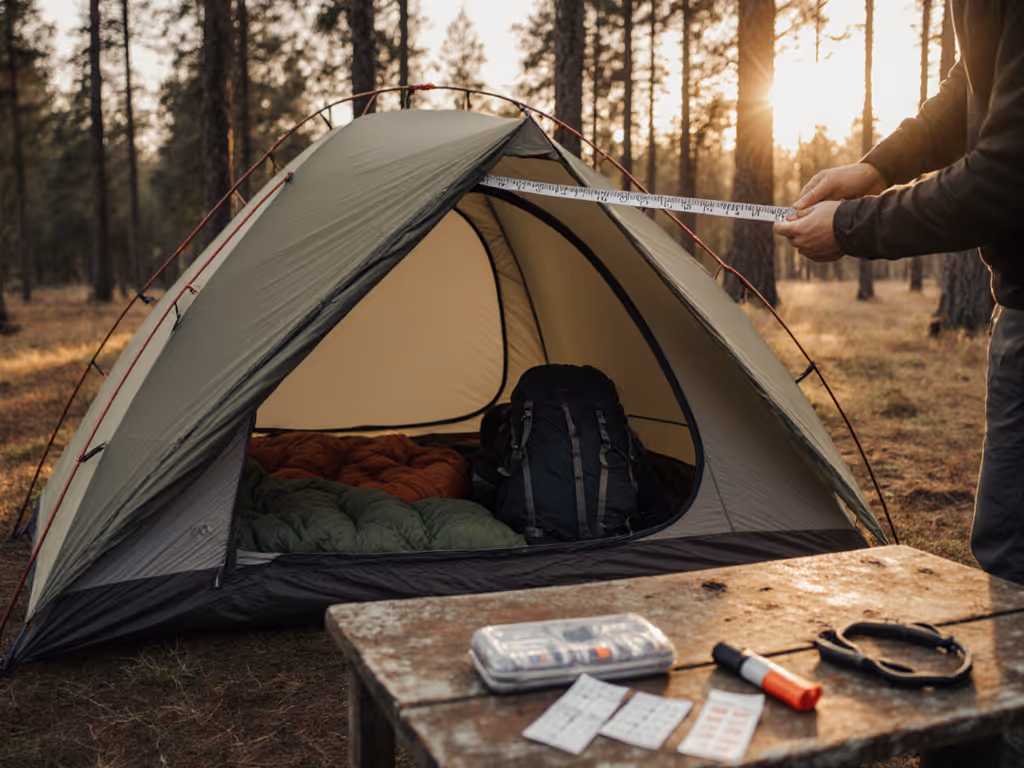
How Do You Measure Fit Without Buying Five Tents?
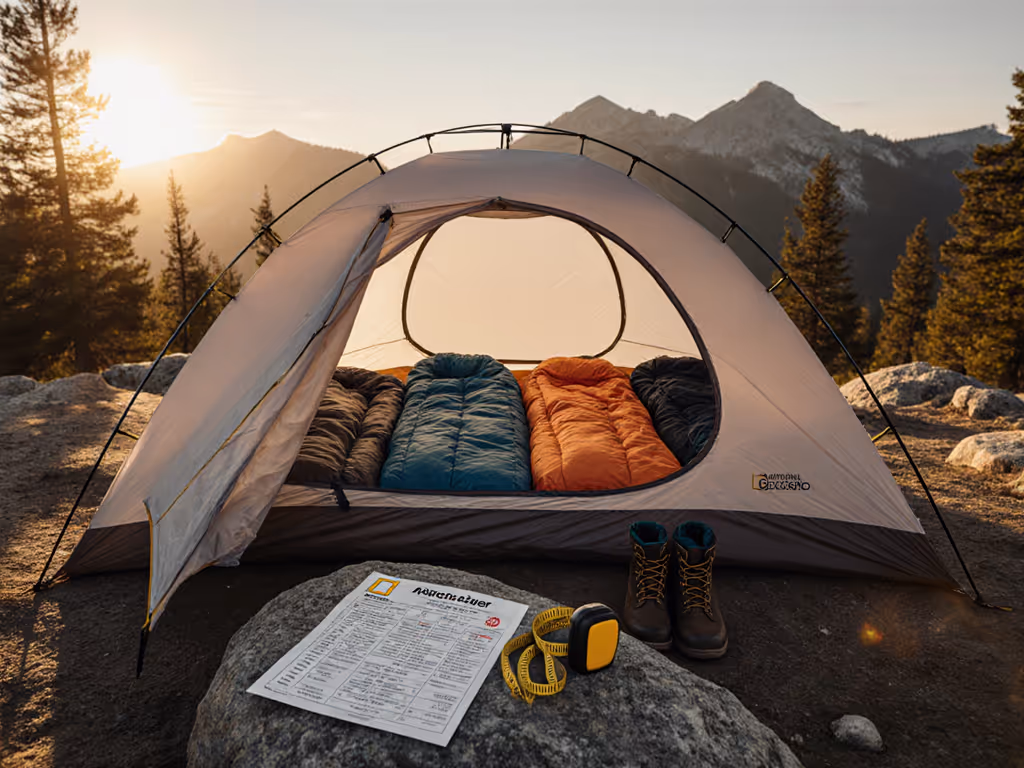
Start with floor dimensions and usable interior length/width. Tent makers report outer dimensions; subtract about 1 to 2 feet per side for wall thickness and sloped walls to get honest interior space. A tent with a 6×9 foot floor might deliver only 4.5×8 feet of usable space once walls angle inward.
Pad layouts are the real answer. Bring your actual sleeping pad (or measure its packed dimensions) and mock up how many fit without overlapping gear zones. If you use a wheelchair transfer cot, factor its footprint too (often 30×75 inches). A camping cot can make transfers far easier than a ground pad and occupies predictable space, but you need clearance and headroom above it.
Threshold and door testing require hands-on assessment. Roll a wheelchair into the tent (or walk through on crutches) and verify the entry feels natural, not like a tight squeeze. A shallow or beveled threshold is essential; ramps or thresholds steeper than ADA standards (1:12 slope maximum) are common even at campgrounds claiming accessibility.
Vestibule depth should be at least 2 feet to keep rain and blowing debris away from the main door; ideally 2.5 to 3 feet if you're storing a chair or mobility aid inside it.
What Happens When a Seam Leaks or a Slider Breaks? Repair Access Matters.
This is where accessible camping modifications and long-term value intersect. Most adaptive campers stay with their shelters longer than casual users, and a tent that cannot be fixed becomes an expensive loss.
Check for pole design and spare parts availability. Aluminum poles with clips are more repairable than shock-corded segments that snap inside the outer tube. Ask manufacturers directly: Do they sell spare poles, pole sections, and shock cord kits? Can a retailer or local repair shop source them? If the answer is vague, that tent will likely end up in a landfill if a pole breaks.
Floor and fabric repairs should be straightforward. Urethane-coated nylon is easier to patch than newer PU laminates in some cases. Seams should be taped or welded, and that tape should be replaceable if it delaminates. The best tents ship with patch kits and seam-sealer; use them before your first trip, and you'll catch vulnerable spots early.
Zippers and sliders fail regularly, especially on vestibule doors. Replacement sliders are inexpensive (often $10 to $20 each) if you can source them. Tents with proprietary slider sizes make field repairs nearly impossible. Favor designs using standard Vislon or coil zippers from manufacturers like YKK, which are widely available and swappable.
At a neighborhood repair night, we replaced a slider, patched a floor, and tightened a guyline, all in under an hour. That tent went from "trash" to three more seasons. When budgets are tight, buy once, sleep well, fix forever when you can, not because durability is free, but because repairability is freedom.
How Do You Adapt a Tent You Already Own for Accessibility?
Floor modifications often start here. High-friction adhesive flooring tape or thin outdoor rugs reduce caster catch-up and improve grip for wheelchairs and crutches. Replace rubber-tipped crutch or cane tips with ones suited to outdoor terrain. If your tent's floor isn't truly sealed, add a groundsheet or a second floor layer to redirect moisture. Learn proper tent footprint sizing to prevent water from pooling under your shelter.
Vestibule expansion can be DIY. An external gear loft, a hanging organizer clipped to a pole, or a small secondary vestibule created with a tarp and paracord keeps wheels and adaptive gear dry and accessible without invading your sleep space.
Lighting and visibility matter for campers with sensory needs. Battery-powered LED strips clipped inside reduce reliance on a single headlamp, and clear panels or windows (many modern tents include them) maximize natural light during the day, reducing sensory overload.
Ventilation and condensation control improve with strategic door or vestibule positioning. Angle your door away from prevailing wind, and crack vents to reduce humidity without flooding your sleeping zone. For step-by-step airflow tactics, use our condensation solutions guide. Scuffs are stories, not failures, and so are early moisture stains; they tell you where airflow is weakest, so you can adjust before full condensation sets in.
What's the Real Total-Cost Picture for an Adaptive Shelter?
A quality inclusive tent design costs more upfront (typically $300 to $600+ for a 2 to 3 person adaptive model), but the math improves when you factor in longevity and repair. A tent that lasts 150 nights (common for repairable, well maintained shelters) versus one that fails in 50 nights cuts the per-night cost from $2 to $3 down to $0.50 to $1, before accounting for repair.
Budget for accessible camping modifications and consumables: patch kits, seam sealers, replacement sliders, cot upgrade (if needed), and mats or floor coverings. Another $100 to $150 upfront, but spread across years, negligible. The real burden is a tent that cannot be repaired; that's a total-loss scenario.
Warranty clarity matters. Compare coverage terms across brands in our tent warranty comparison. Does the maker cover seams and zippers for 2 to 3 years? Are repairs covered or just replacements? Can you source parts yourself, or are you locked into paid service? Transparent terms and a repair parts catalog signal a maker that expects longevity.
Summary and Final Verdict
An effective disabled camper tent guide prioritizes accessible camping modifications that are tangible and testable: shallow thresholds, genuine interior space, spacious vestibules, and accessible repair paths. Spec sheets lie; your body and your gear know the truth. Visit stores, mock up your actual sleeping and movement, and ask hard questions about repair parts and warranty.
The most sustainable adaptive tent is the one you can repair and keep using. Invest in threshold and floor accessibility first, then in a design that can be serviced (sliders replaced, seams resealed, poles swapped) without abandonment. A tent that stays in your rotation for five years, through repairs and improvements, delivers real value; one that fails after two seasons, regardless of initial price, is waste.
Your nights in the outdoors are non-negotiable. Make them accessible, make them repairable, and you'll find that inclusive shelter stops being a luxury and becomes a quiet, dependable friend.
Related Articles